If you are designing wireless networks for challenging or mission-critical environments, you need to be doing pre-deployment surveys. These are also known as active, or AP on a Stick surveys.
Where I used to work, predictive design was the status quo, with post-deployment verification. The result: often, teams had to tweak things that the software had predicted incorrectly. Or, we had add more APs to address coverage gaps – costly and annoying.
On the next project, rather than budget for “contingency” (aka going back to fix things that don’t work as expected), we took a portion of that money and allocated it to getting an AP on a Stick survey kit and improving the design process.
There are a few professional solutions out there, but to cut costs even further I began looking into DIY solutions. Shoutout here goes to @NoLANWiFi whose excellent blog post served as the inspiration for this build. It’s 90% the same, apart from minor changes like the battery used.
*Note that we had to order everything from our preferred VAR rather than online sites like Amazon or individual manufacturers – this is the main reason for changes to Nolan’s original design.
The Parts


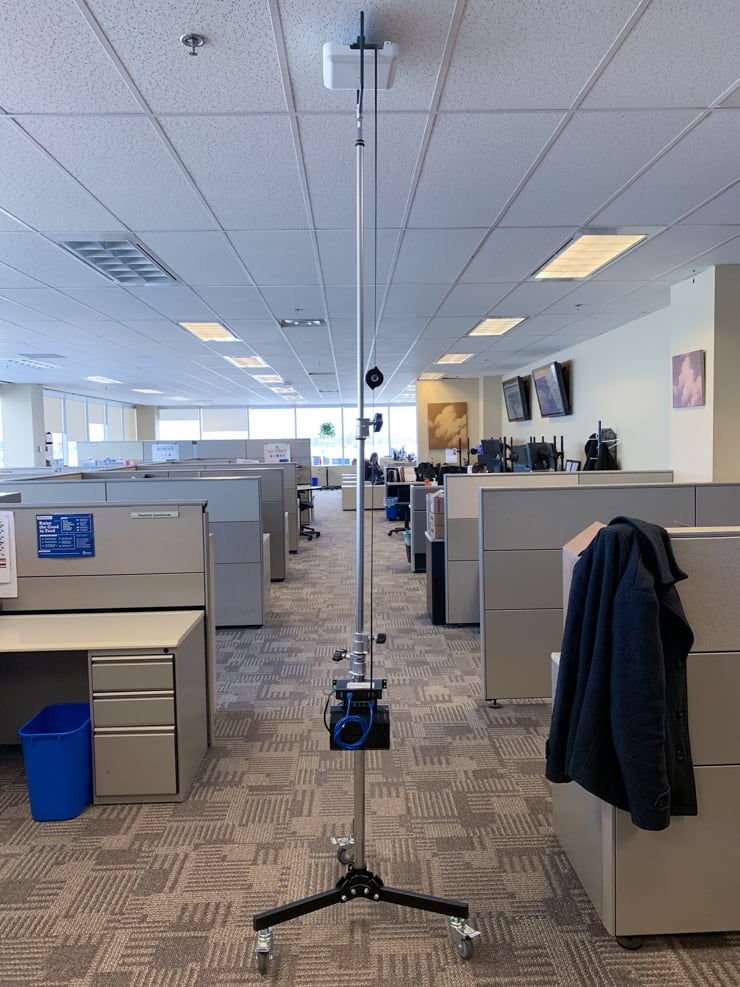
Impact Folding Wheeled Base Stand, 11′
As the base for the entire kit, you want a high-quality stand that won’t tip over. This sturdy stand folds up and has locking casters, making it perfect for portability and stability.

WiFiStand Version 2 Bracket
You need a way to attach an AP to the stand, and that’s where the Wi-Fi bracket comes in. You could hack something together yourself, but this T-Rail support fits most manufacturer brackets, making mounting a breeze. Check the build section for details on how to actually mount this bracket to the stand itself.


Black Box Network Services CAT6 Retractable Cable
Wi-Fi still needs wires in some places. This retractable CAT6 cable was a cheap and compact solution compared to a thick coiled cable. It’s only 6.5ft though, so if you want to take full advantage of the stand’s 11ft reach, go for something longer.

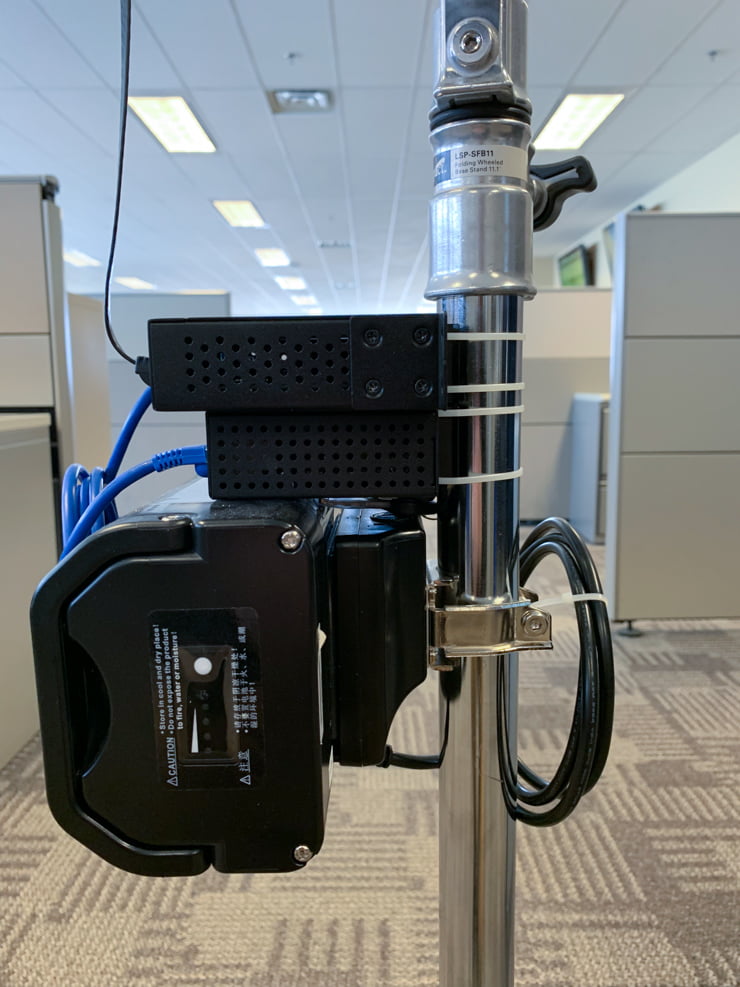
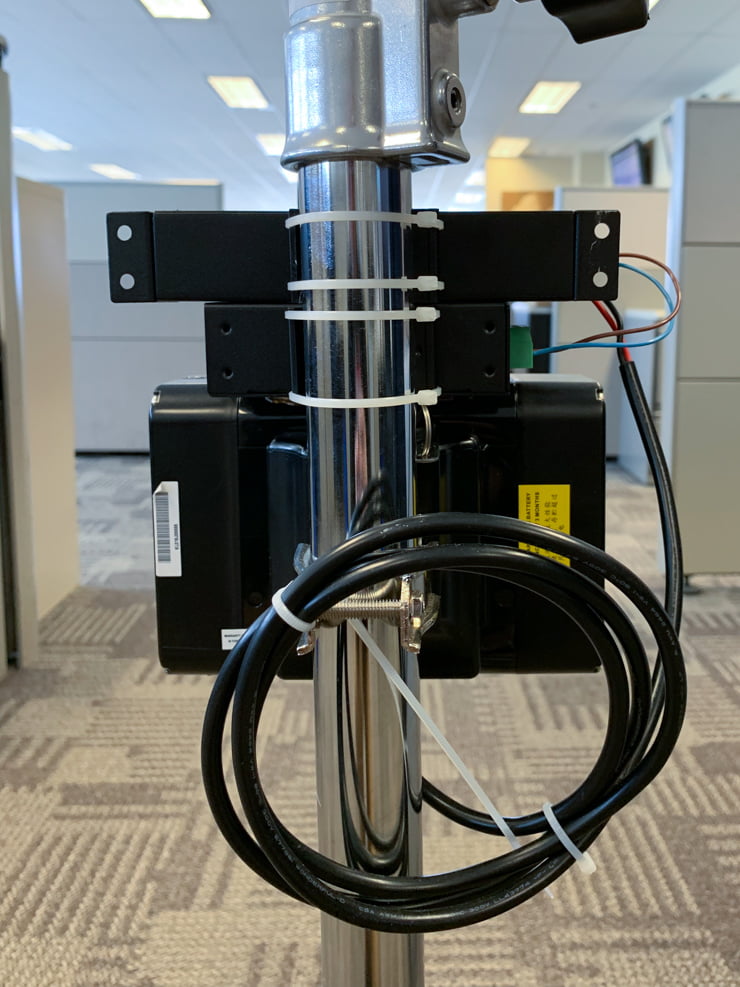
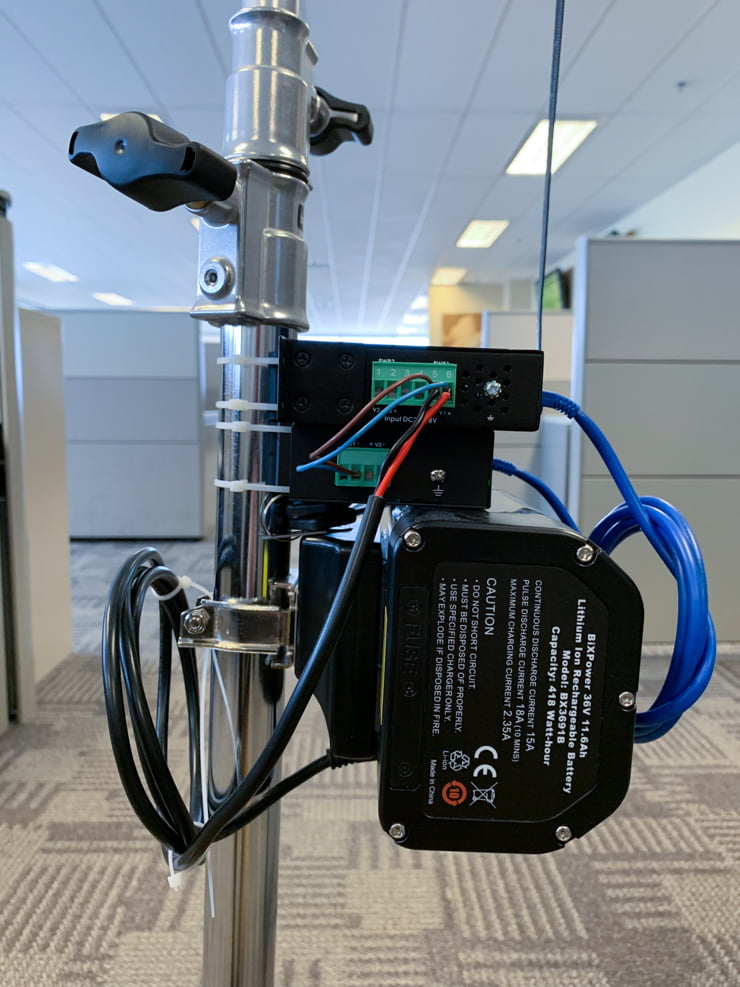
BXPower 36V 11.6Ah Lithium Ion E-Bike Battery BX3691B
This was the only e-bike battery our VAR was able to source and I have to say I’m super pleased with it. The runtime capacity is enough for an entire day, it mounts easily and securely to the stand, and it’s super compact. Here is the manufacturer site with specs


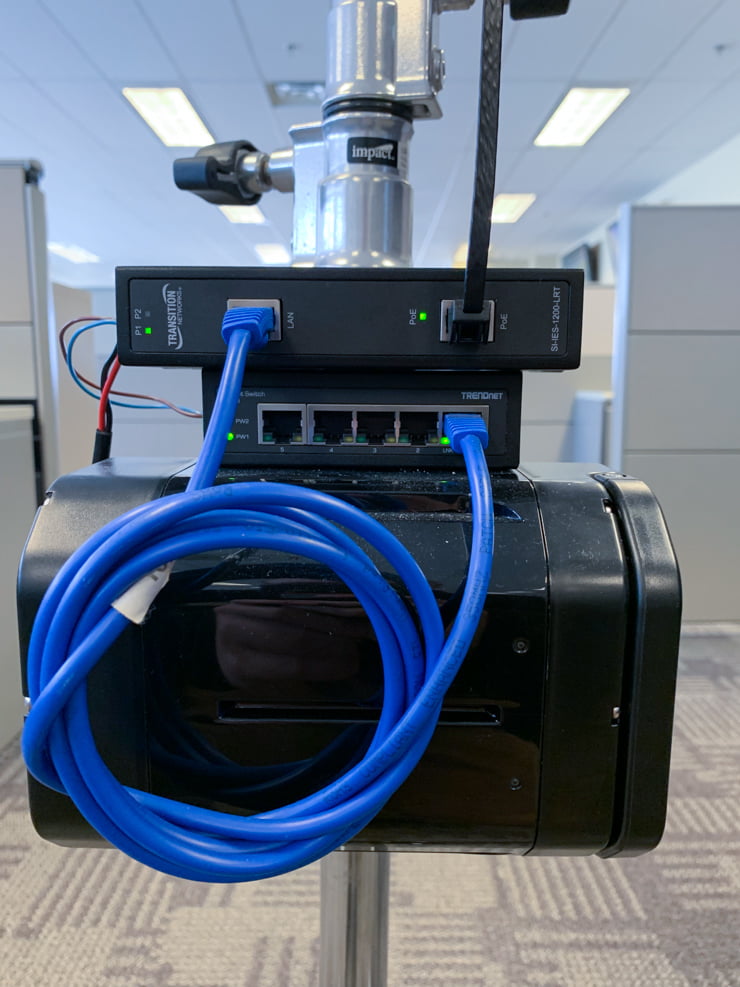
Transition Networks Unmanaged Hardened 30W PoE+ Injector
I ran into an issue with the PoE adapter originally specced for this build, which has a 9-36VDC input. The 36V battery at 100% charge gives out ~42V. The PoE brick couldn’t handle this and didn’t work until the battery was semi-discharged. The input range on this one is 24-48VDC, so it works great with a solid build quality. Here is the spec sheet.


TRENDnet 5-Port Hardened Industrial Gigabit DIN-Rail Switch
The AP2800/3800 requires an active LAN uplink, and will not initialize properly off of just PoE power. I found this out the hard way, so bought this little industrial switch to get things up and running. In a future build, I would probably get a switch with integrated PoE+ to save even more space and money.


Pelican iM3220 Storm Case with Foam (Black)
I never actually needed to transport the kit outside of our headquarters, but this kit will easily stow away all the components for travel and transport. It’d definitely protect the AP and survey kit if I were to check it as baggage on a flight to the next location to be surveyed.
And last, but not least: a wireless access point. I’ll leave it up to you to decide which AP to put on the stick!
The Build
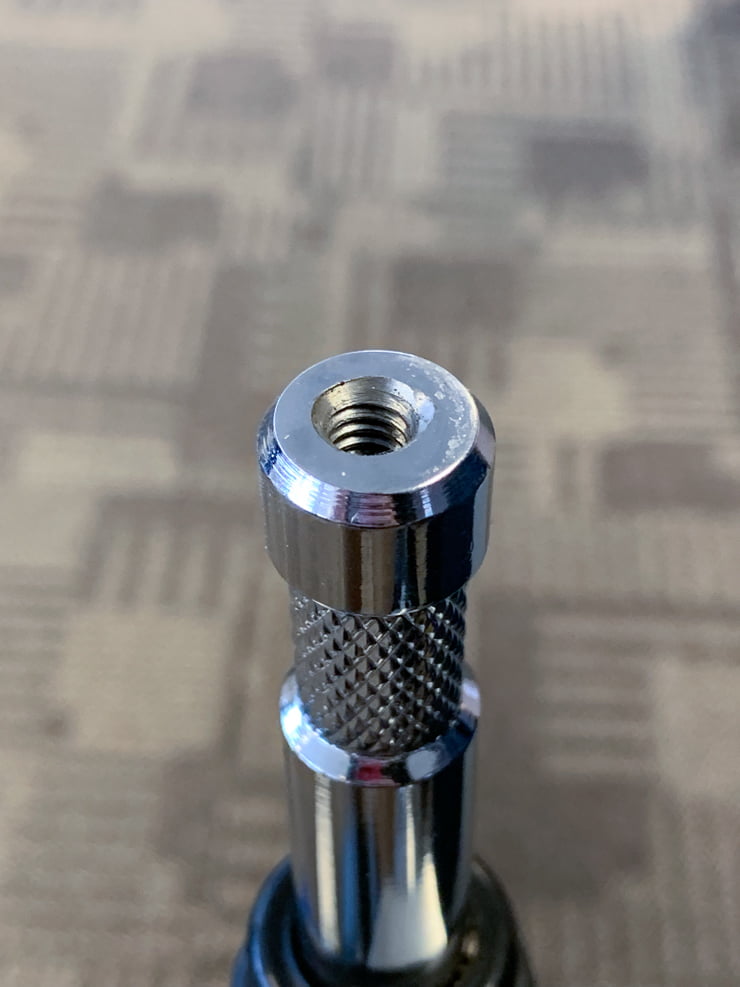
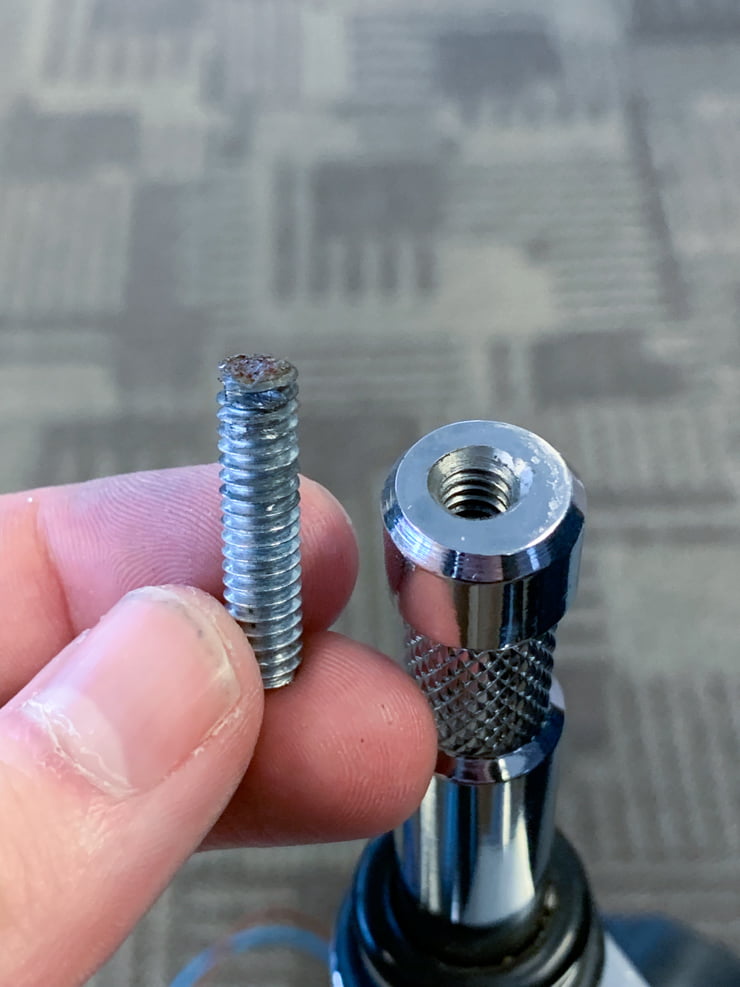
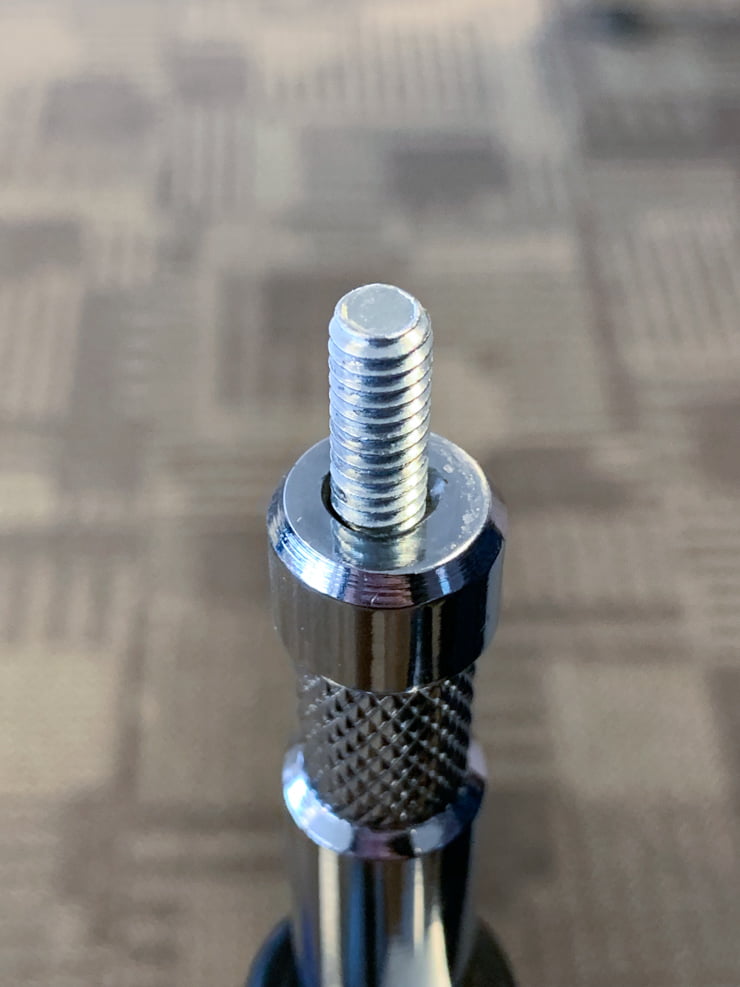
You need to somehow attach the WiFi Stand to the top of the wheeled base stand. I chose to create a screw-type mount, like Nolan did. Since we had machine shops in our manufacturing plants, I drove over to the nearest facility and dropped off the stand with one of our nicer machinists. The next day, a perfectly drilled & tapped hole had found its way inside the top of the stand. Then it’s just a matter of hacksawing the top off a 1/4-20 bolt, et voilà!
Finally, it’s just a matter of mounting everything to the stand and connecting it all together. If you’re in IT I’m sure you can figure this part out. Just be sure to wire the switch and PoE adapter in parallel so they get the same battery voltage. I used the battery and its secure pole mount as a base to sit everything on top of, securing the other DIN rail mounts with zipties to the stand.
Here are some pictures of the finished product:
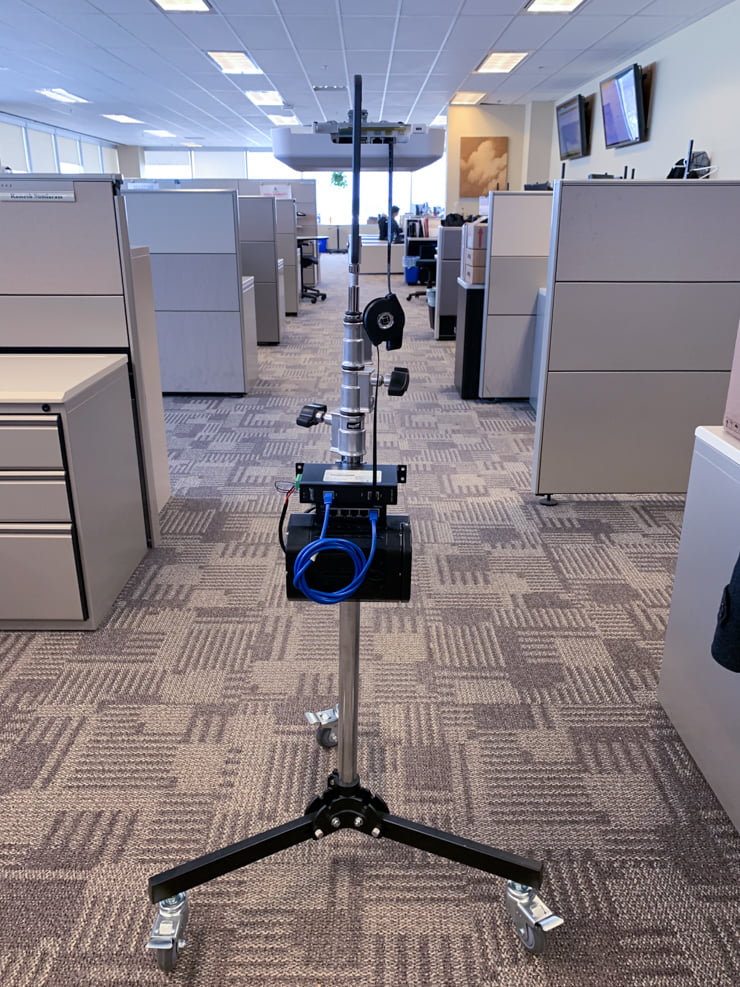
Hope this helps you build an AP on a Stick survey kit, and in your mission to create the best possible WiFi networks. Leave any questions below, and happy surveying!
Leave a Reply