I’m a big fan of user-serviceable and replaceable parts, but when the part in question exceeds the price I paid for the entire unit itself… I start jumping through hoops and cutting things apart to jimmy together a fix. When the unit in question is keeping me from a caffeine fix every morning, I get desperate.
And so it went with our Bialetti Moka Mukka Express Coffee Maker, in Cow-Speckled White. I found it in our basement a while back, and was excited to try to make a cup of cappuccino – only to find the unit wasn’t working. It was a thrift store find dating years back, so we likely paid less than $10 for it. I looked up replacement valves, and they cost around $40USD – still less than what a new coffee maker costs, but far more than I was hoping to spend on a novelty appliance.
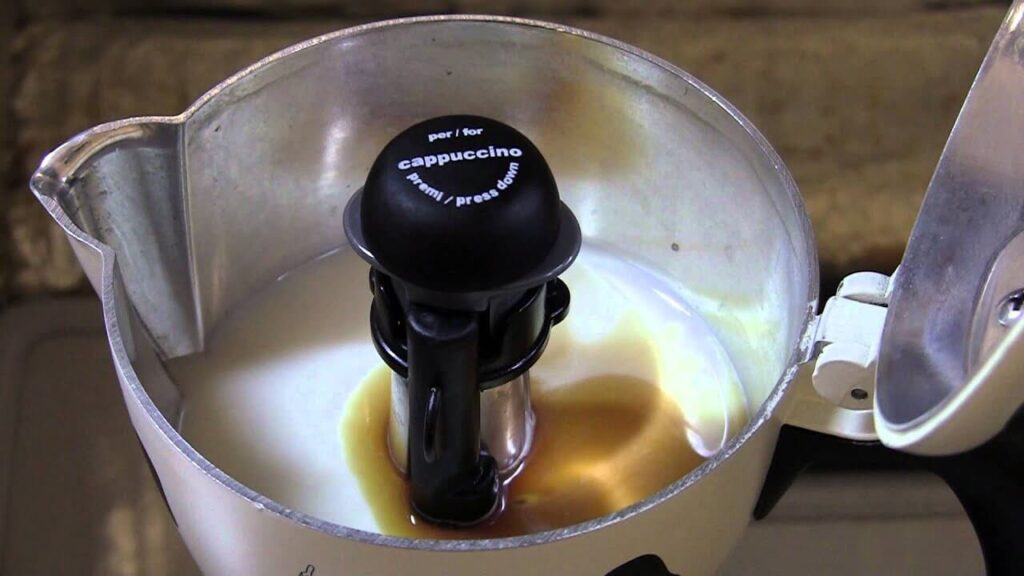
Users have reported that the upper valve assembly, which controls the coffee rising and foaming action, tends to clog and underperform over time. It requires frequent cleaning and careful attention to ensure correct performance. In the event it becomes blocked, the unit simply builds pressure until the relief valve in the base opens, and no coffee ever makes it to the top. See this video for an example (though in this case, he takes the valve off, which releases pressure and blows coffee out):
Bialetti Breakdown – Opening the Valve
What if it can be repaired?
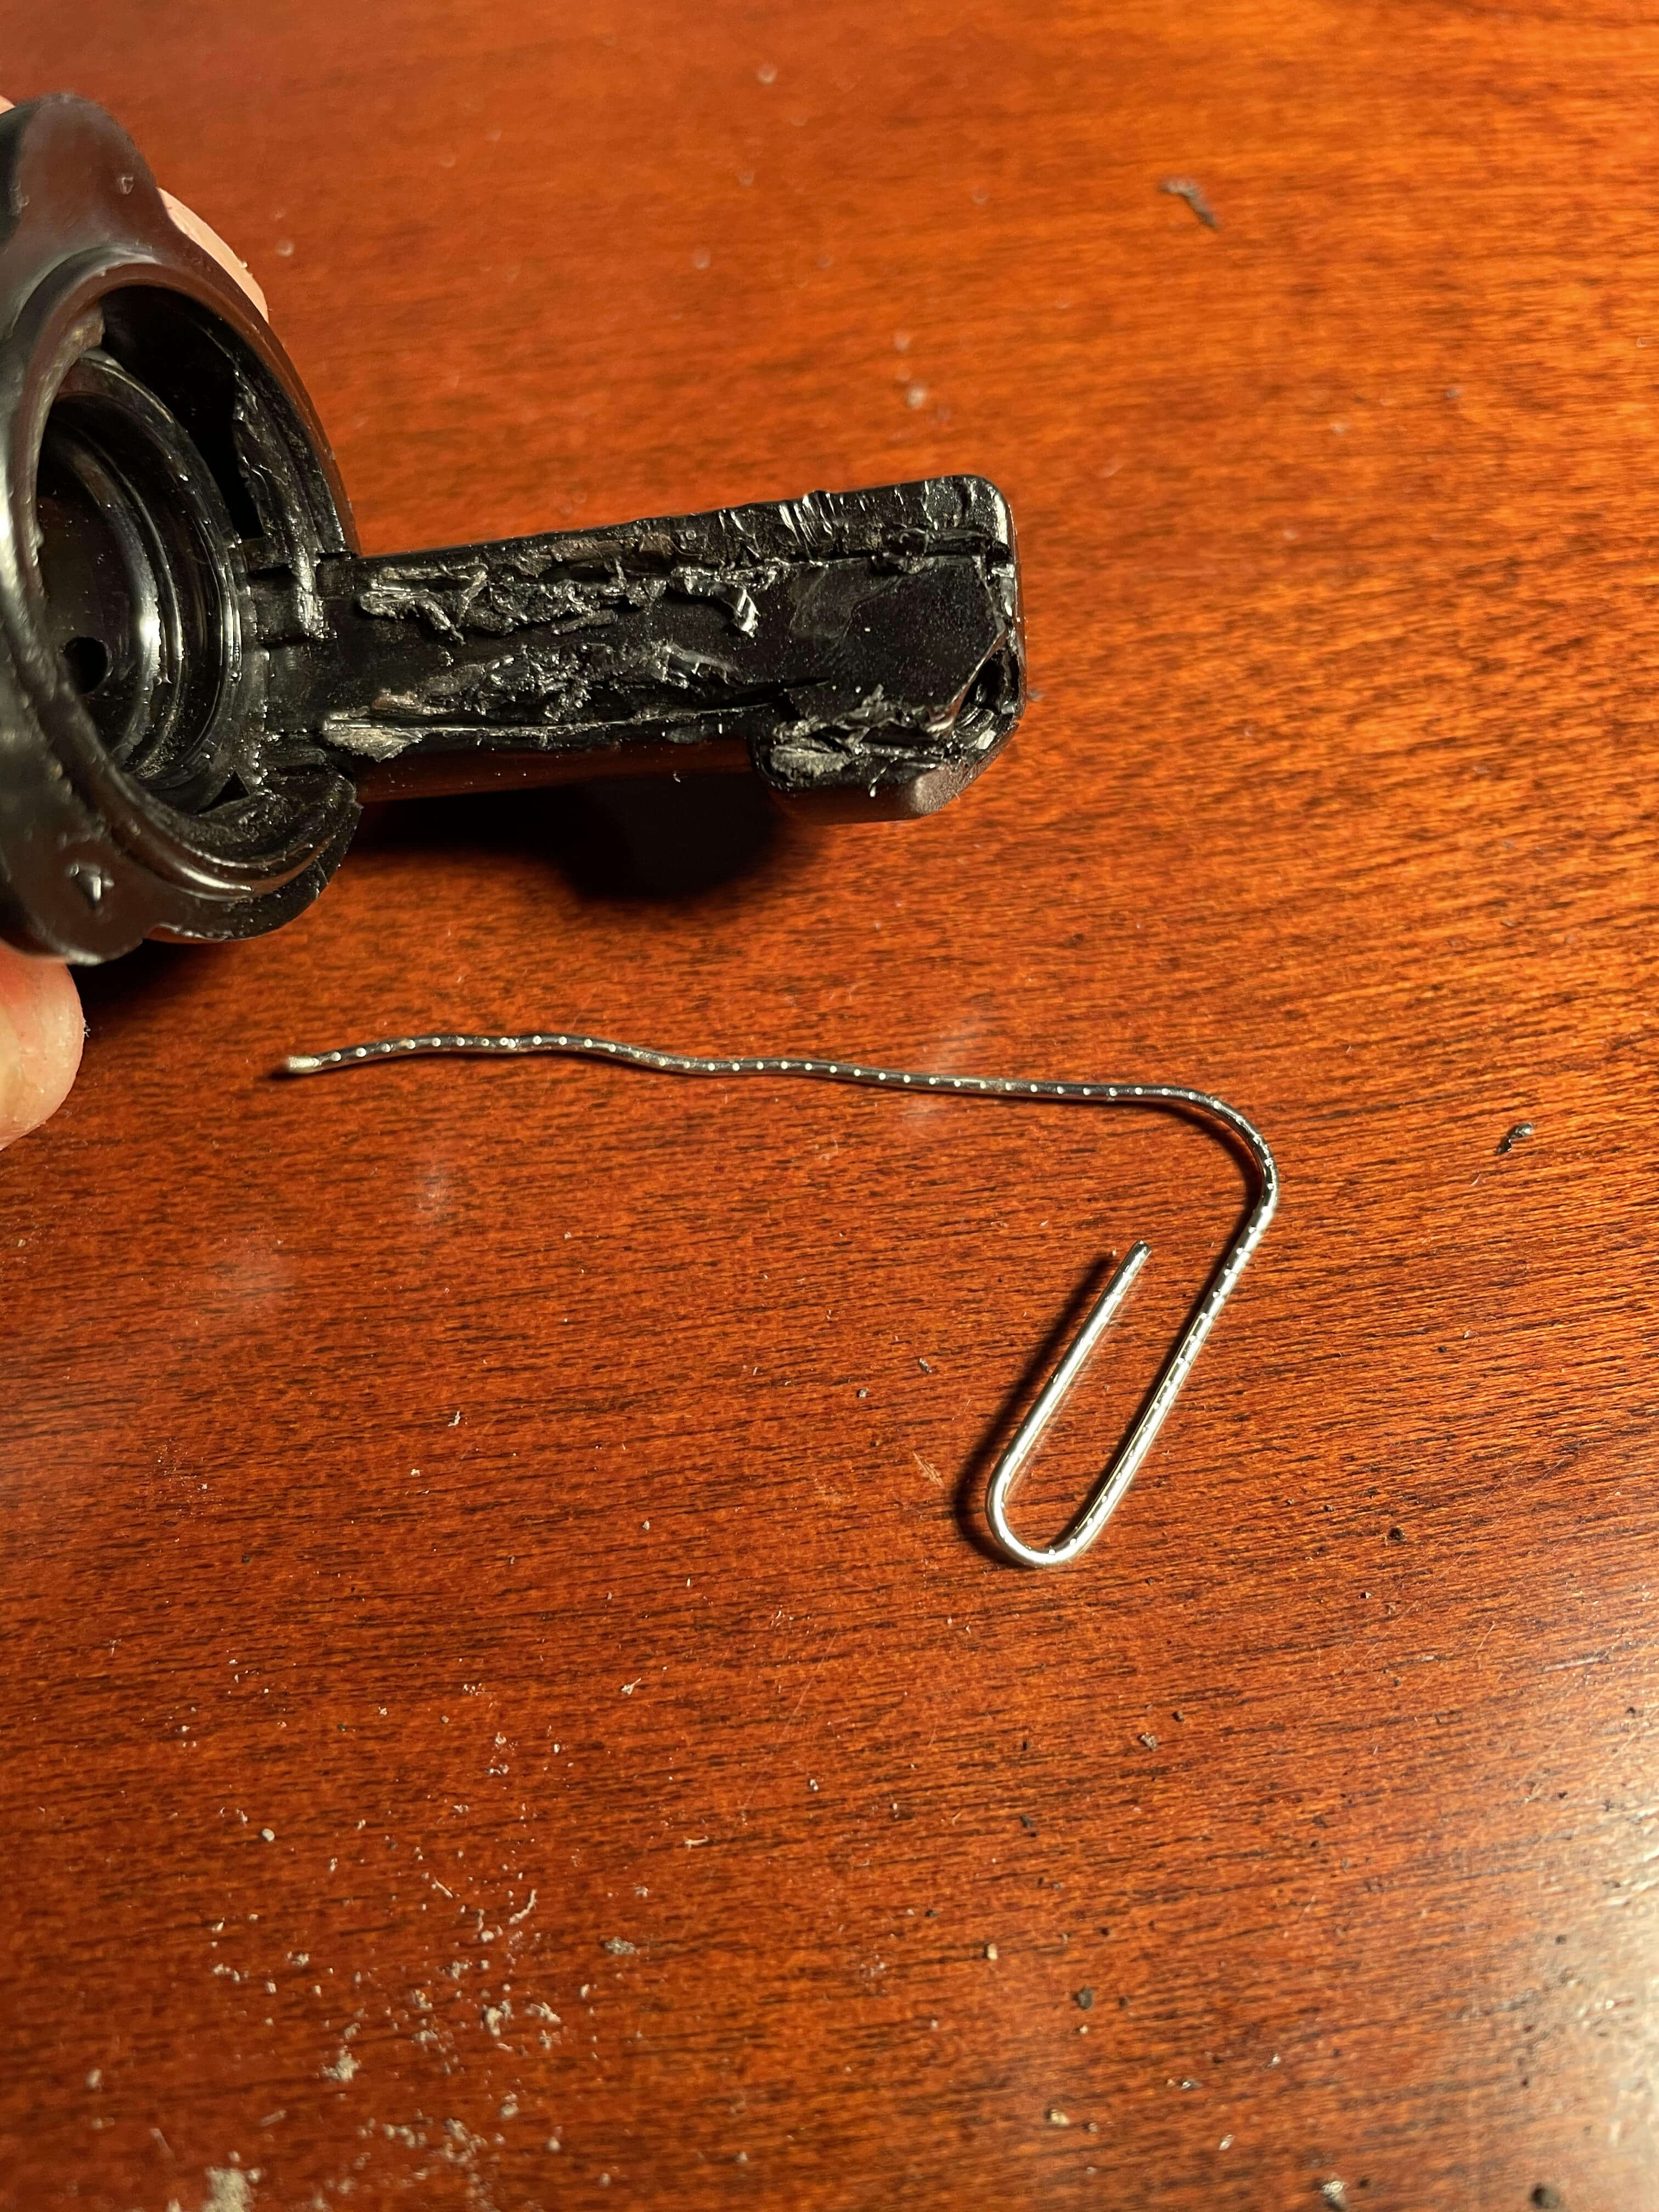
The first thing to try is taking the valve off, and blowing some compressed air up the exit orifice, to back out the stoppage. You could also take a small pipe cleaner, paperclip, or metal wire, and work it up through the valve to try and clean the insides. I gave this a try with no luck – there was a firm resistance very close to the exit aperture.
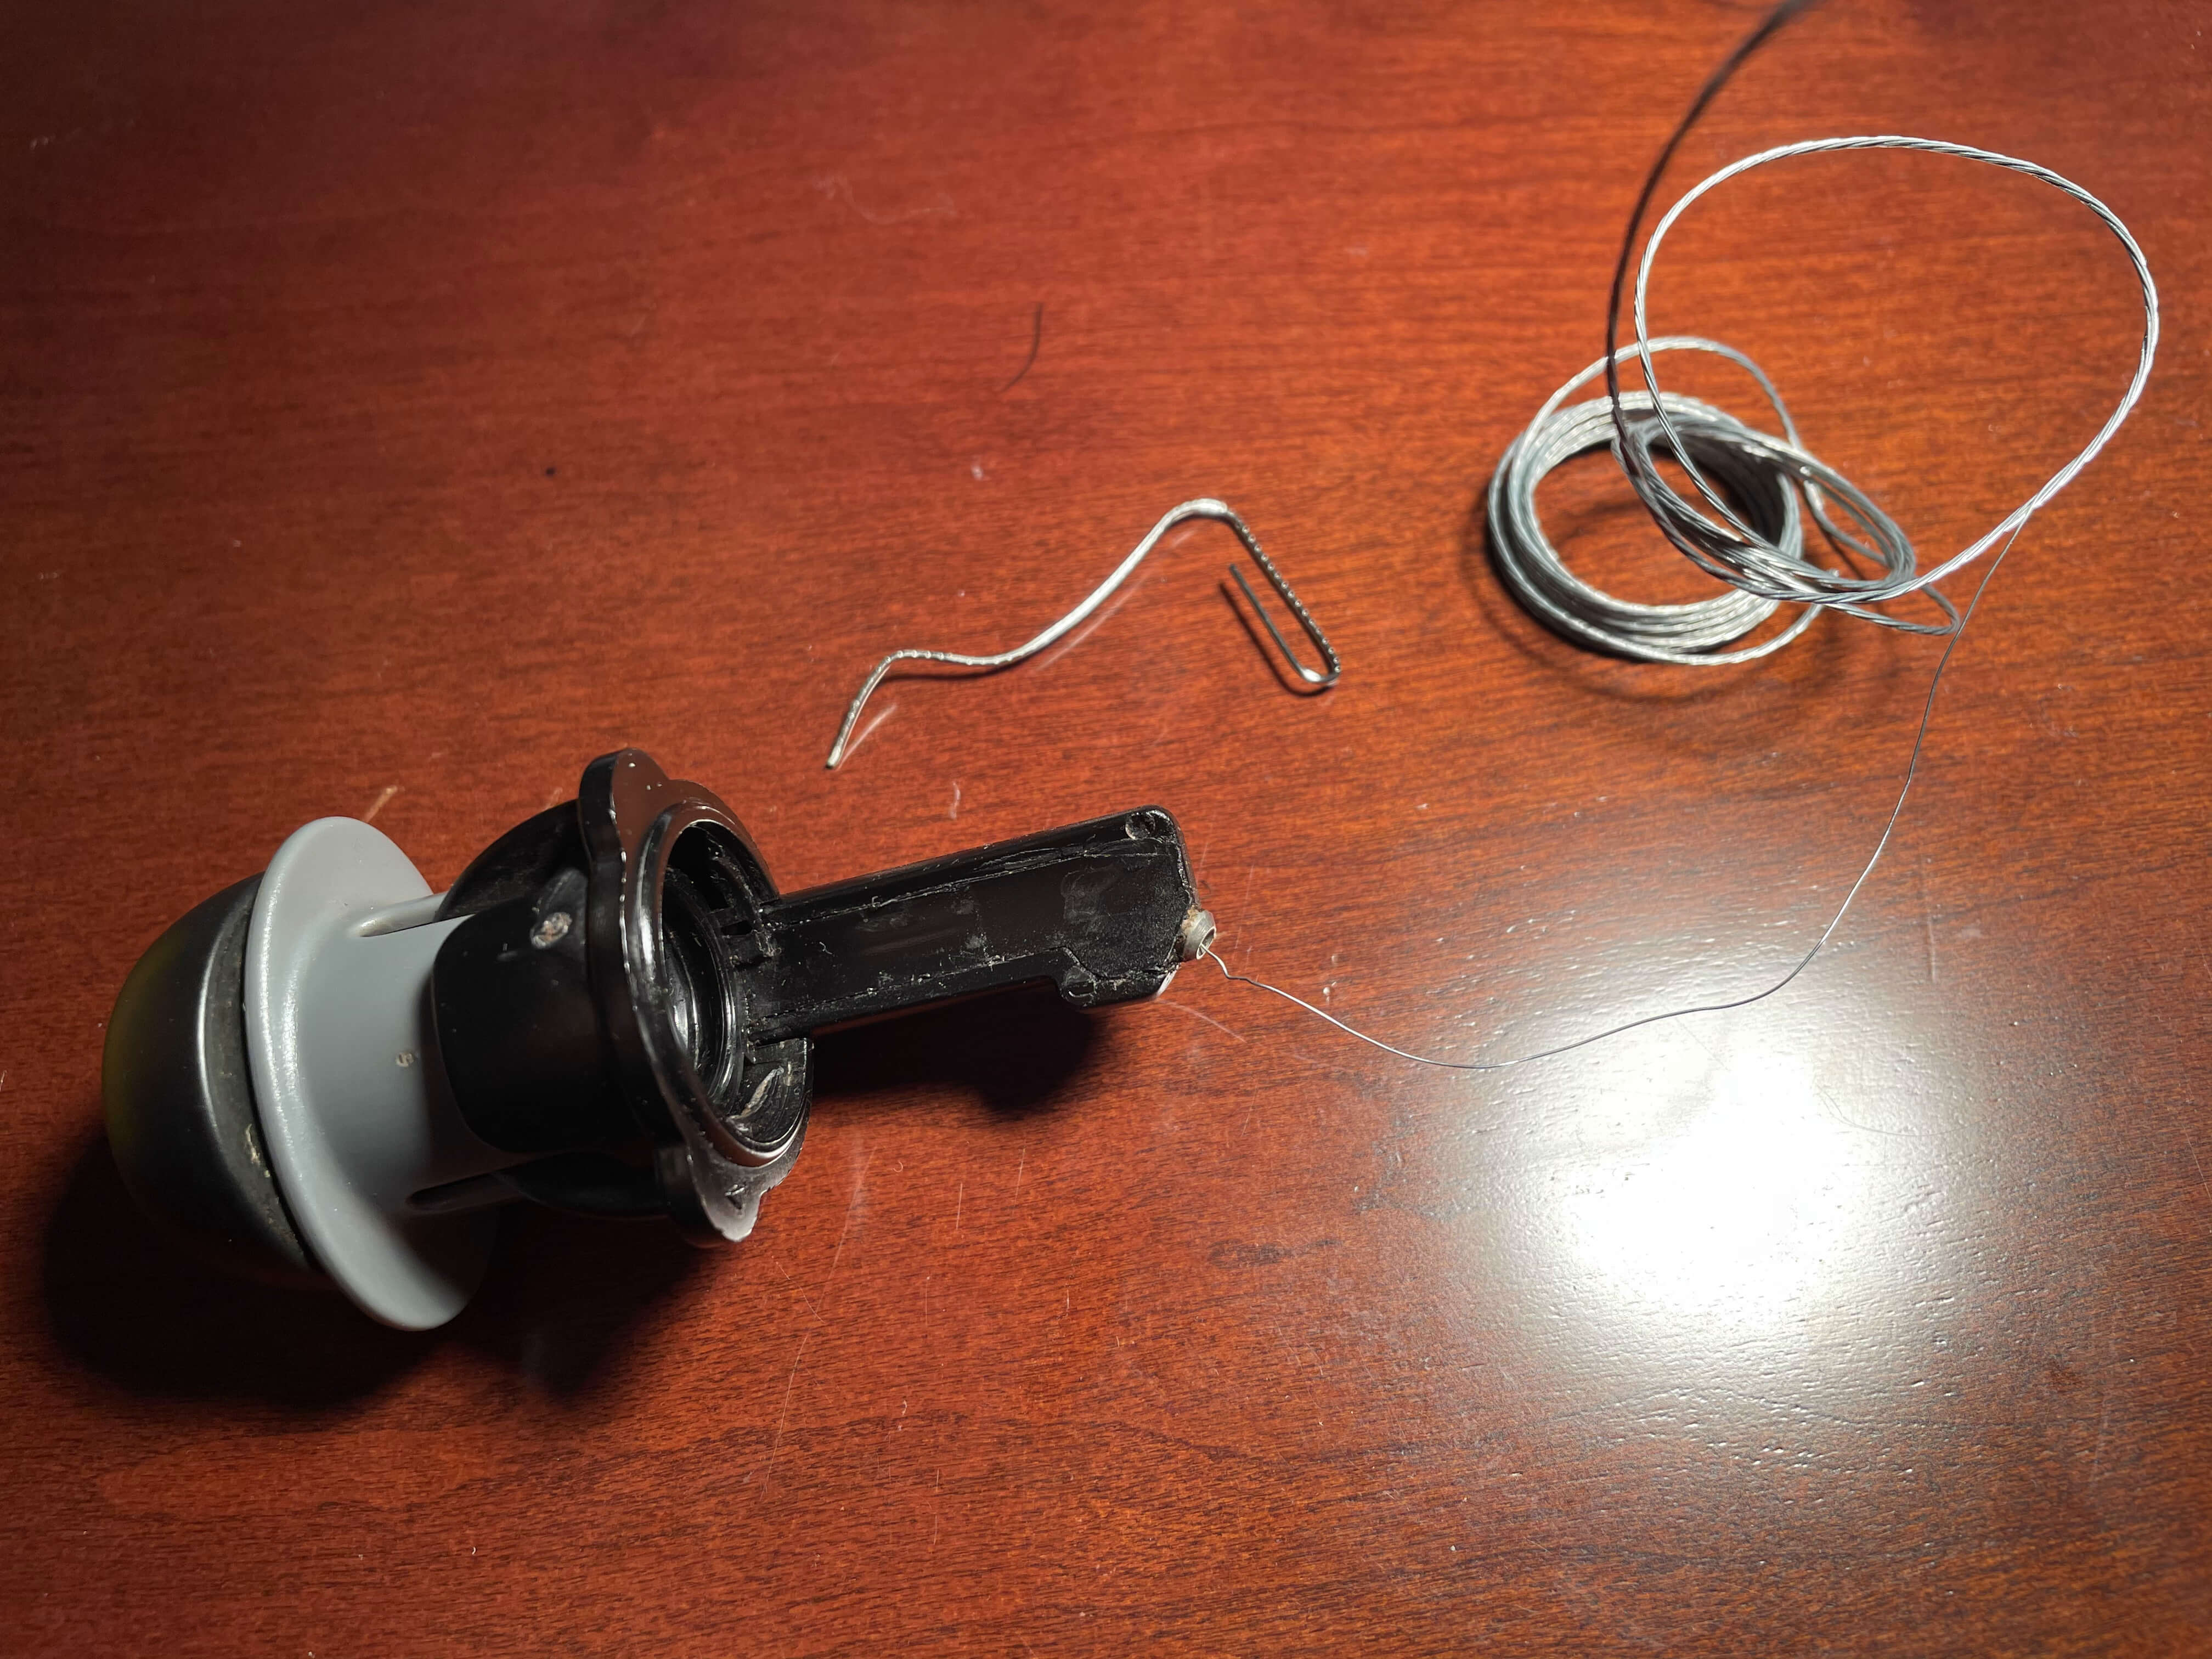
After inspecting the valve body closely, I couldn’t identify any obvious way of non-destructively open the stem. The metal exit aperture wouldn’t unscrew, and prying at the sides didn’t open the stem body. So, out came the X-Acto knife:
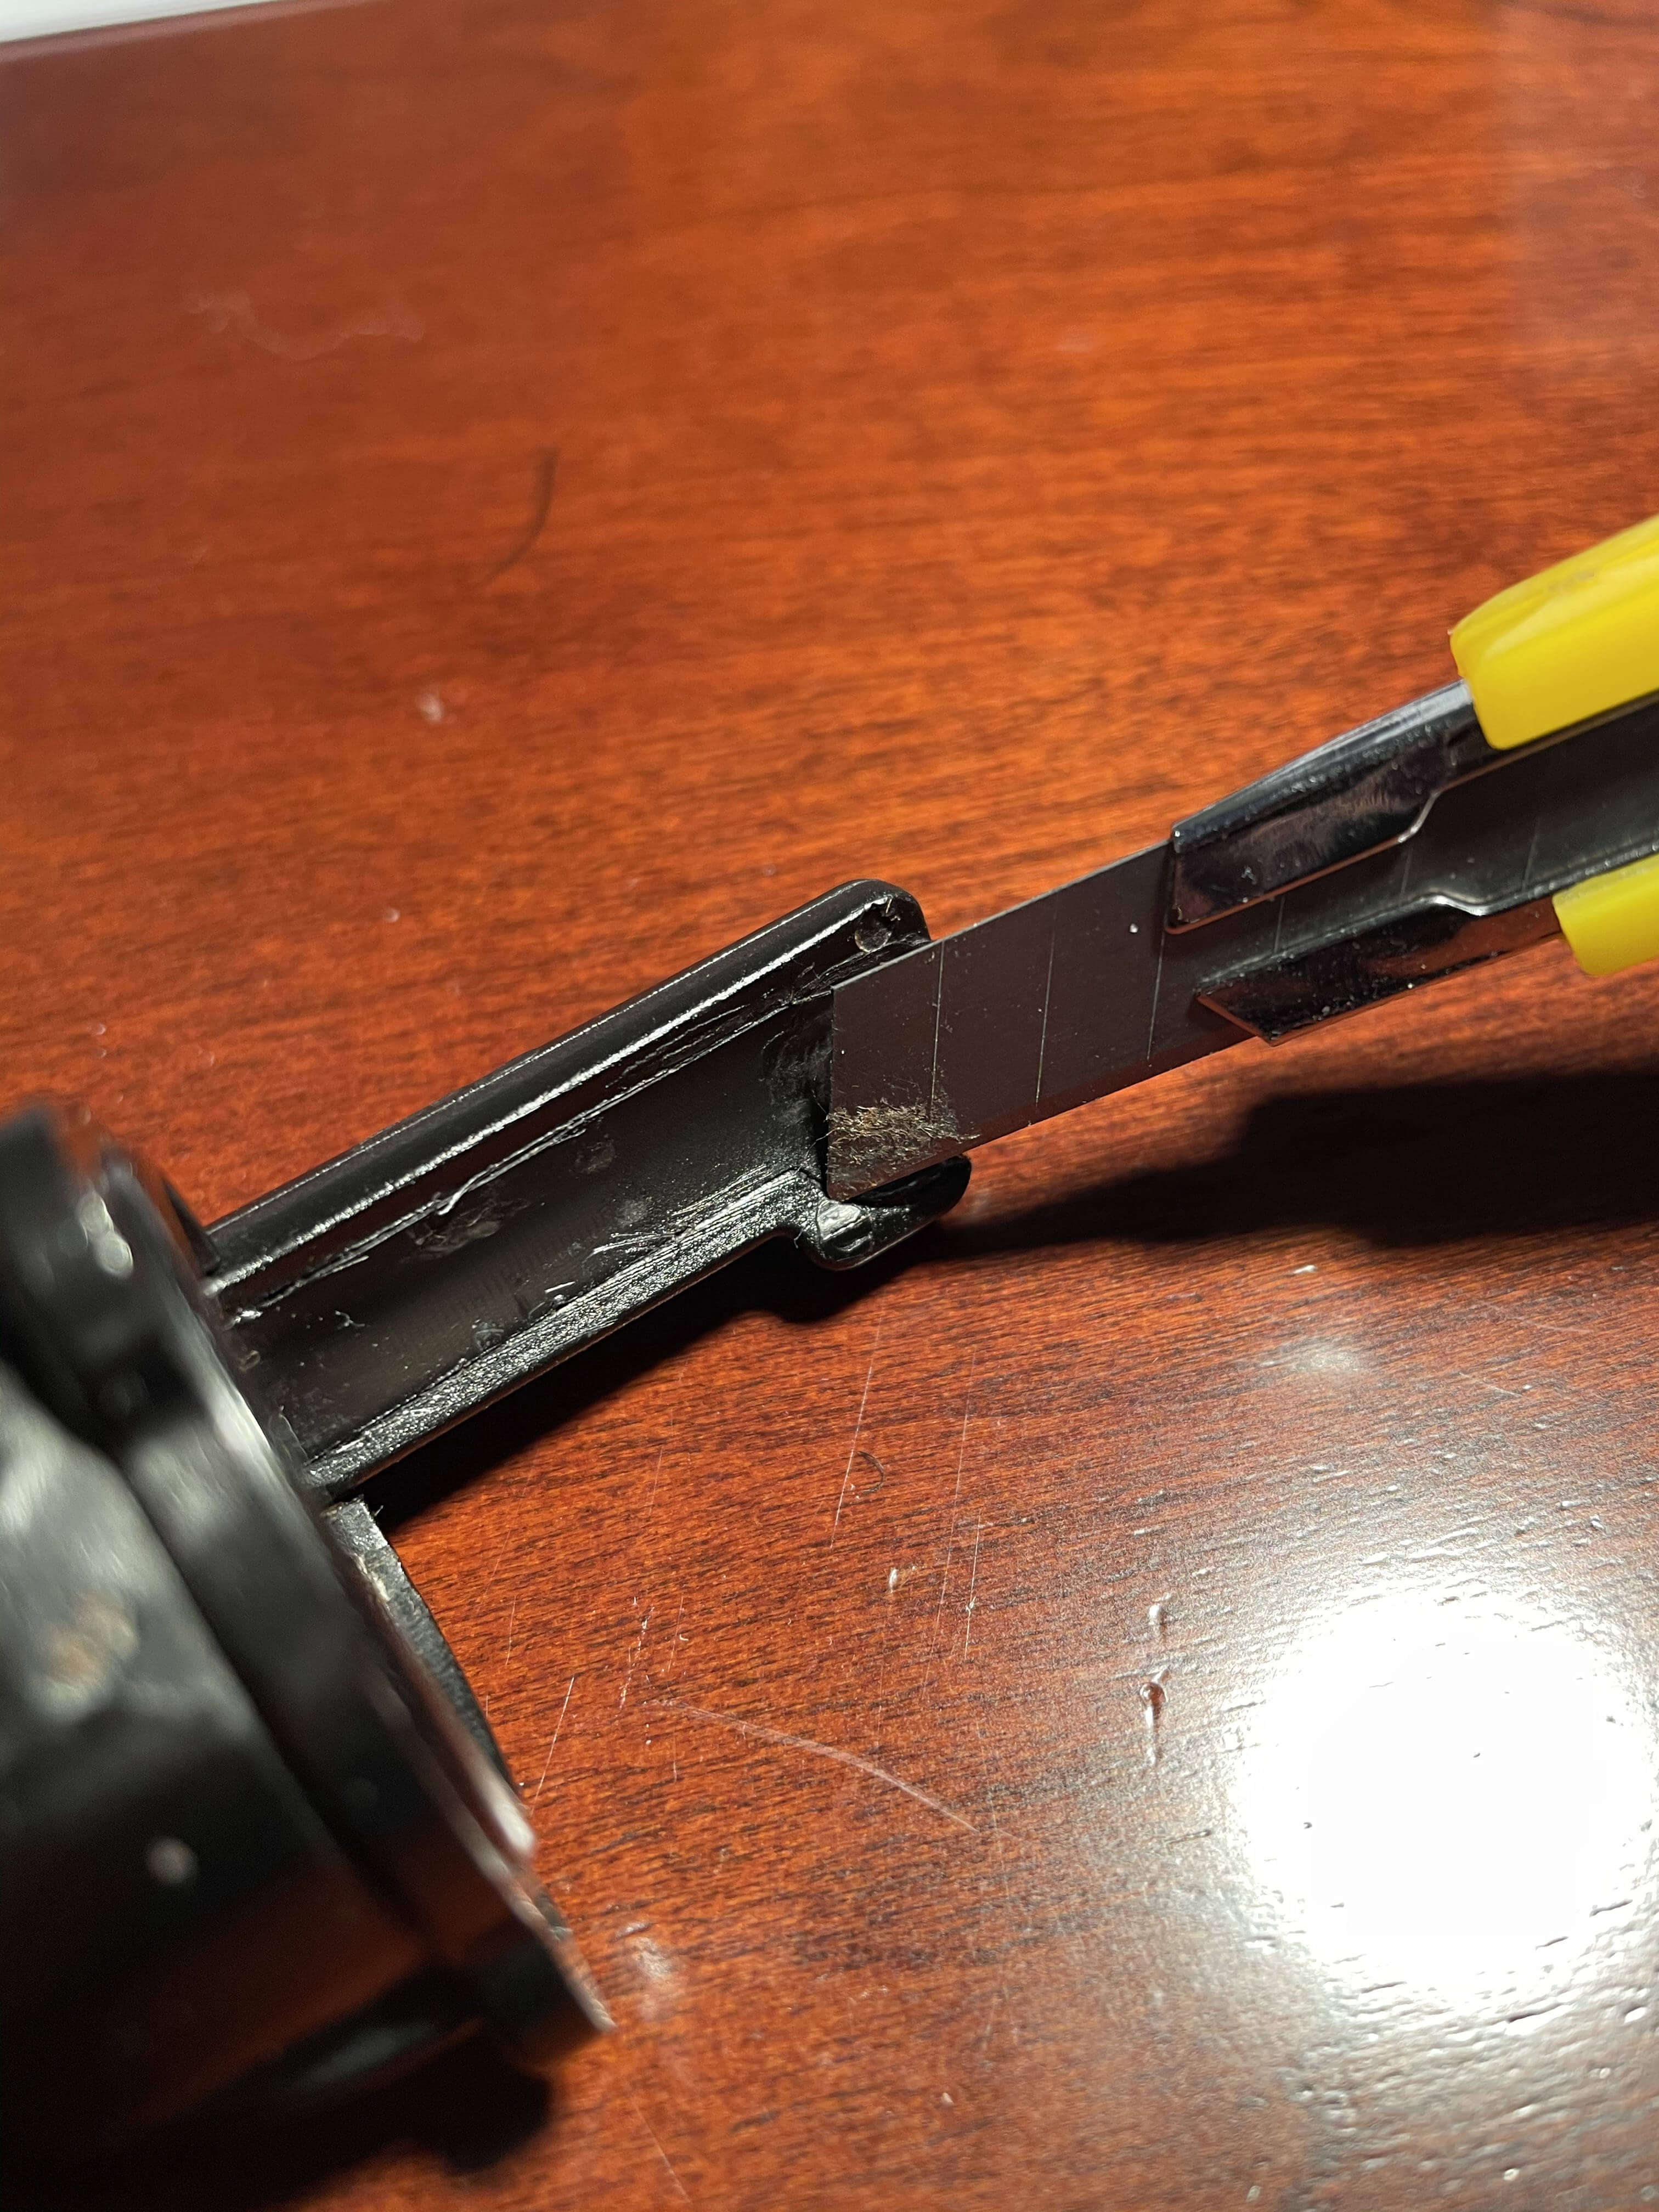
The plastic is rather tough, so I made very little progress with this tool. Time to move on to the big guns: a rotary tool.
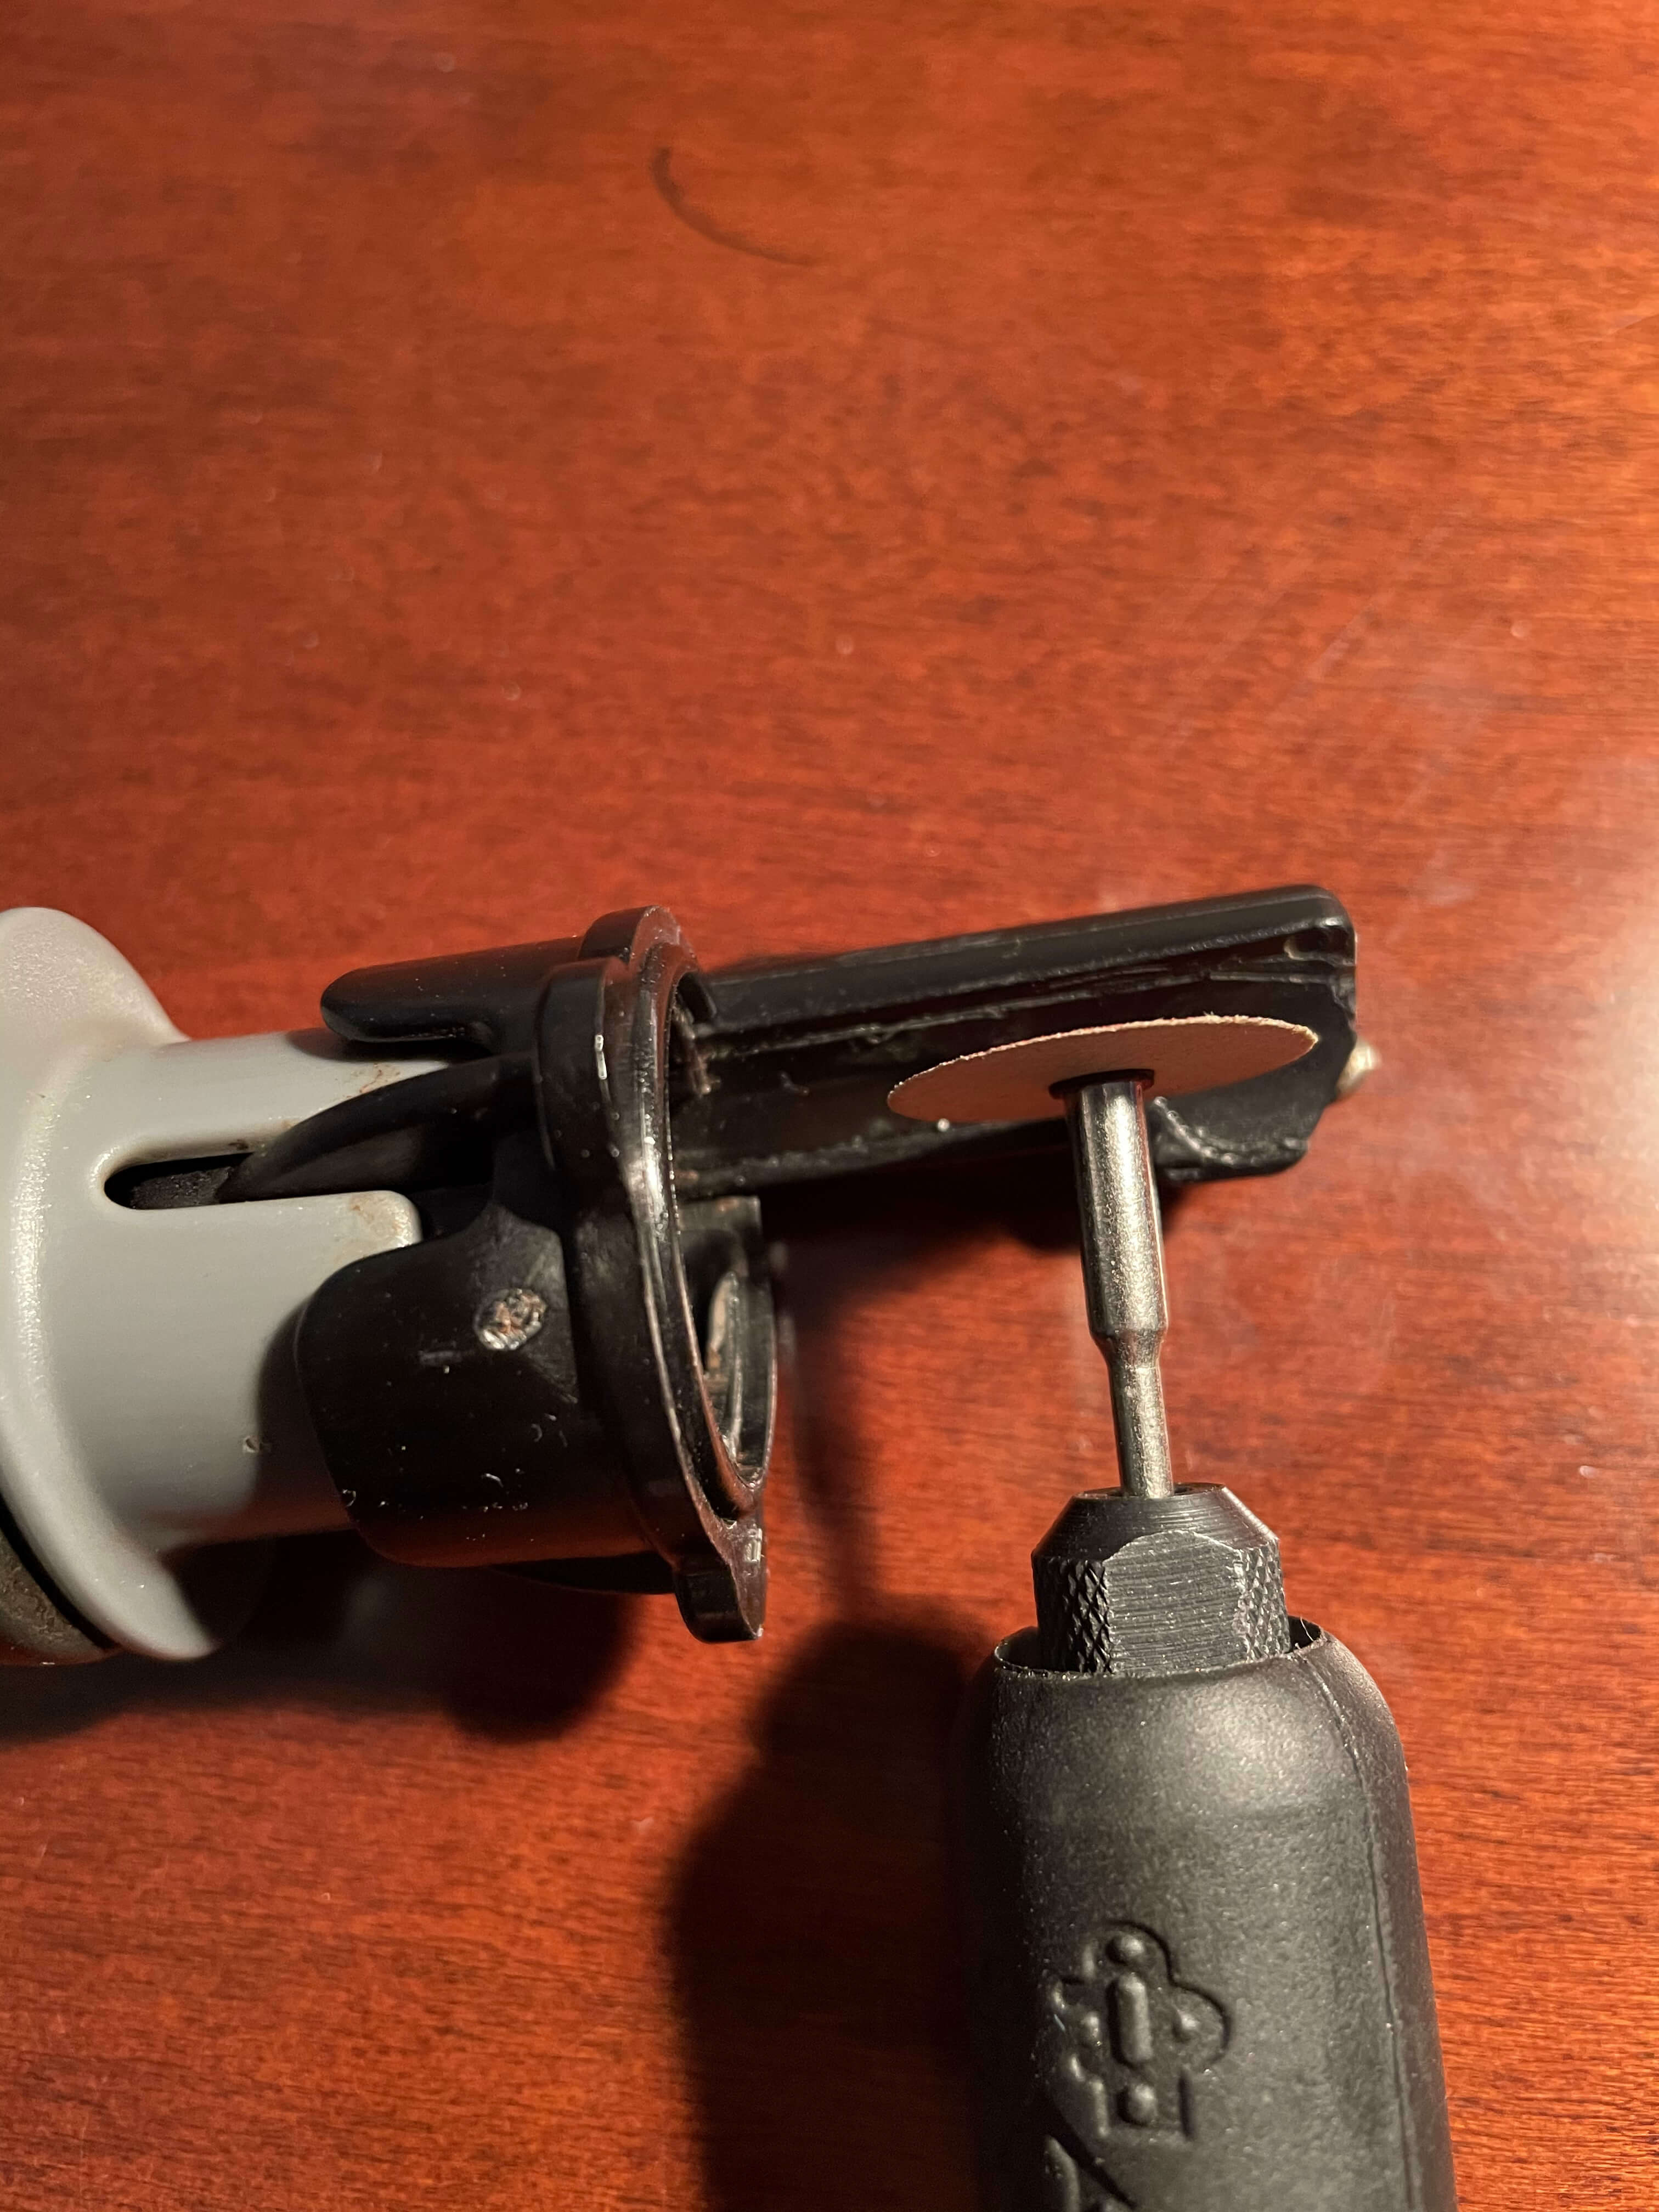
I made some shallow cuts along the sides of the valve body, right along the seams. It seemed (ha) to be working, and I further used a screwdriver to help pry apart the two halves of the valve body.
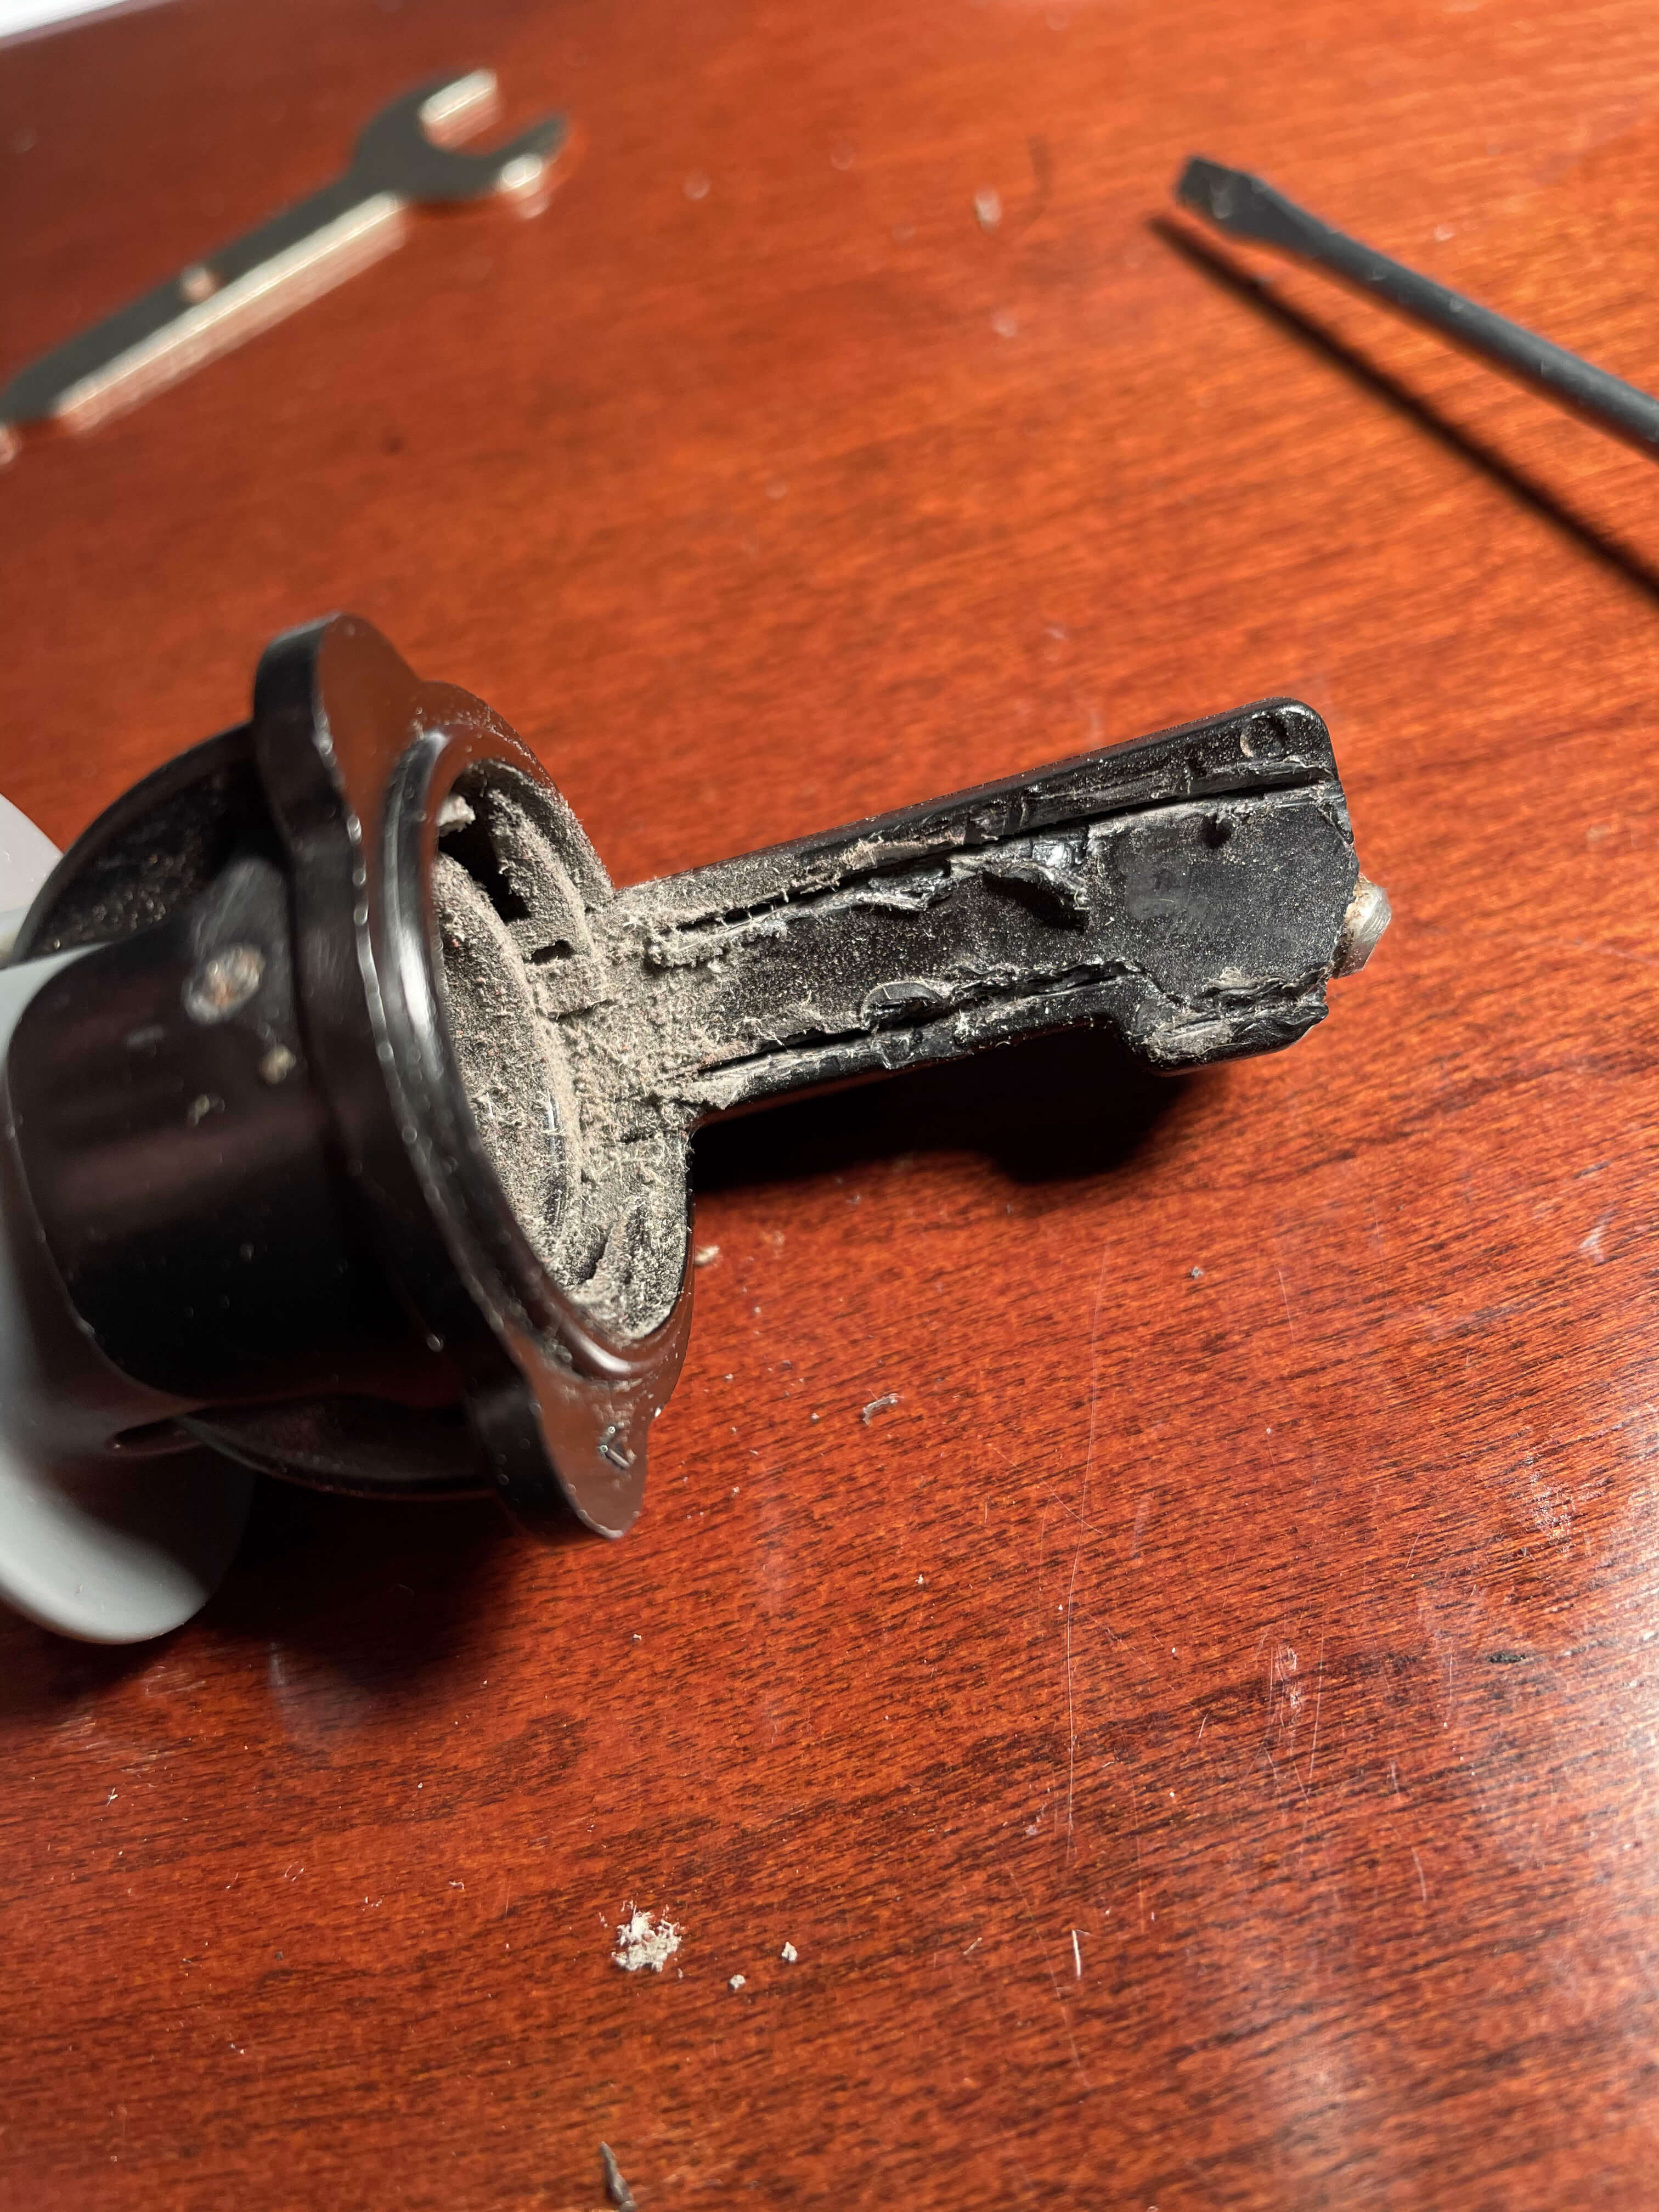
Eventually, after some back and forth, I heard a gentle crack as the sides separated, freeing the metal tip. Be cautious and don’t go too fast, you don’t want to snap the two halves apart completely. Just pry them apart enough for the metal tip to come out, and for the hollow body to be accessible.
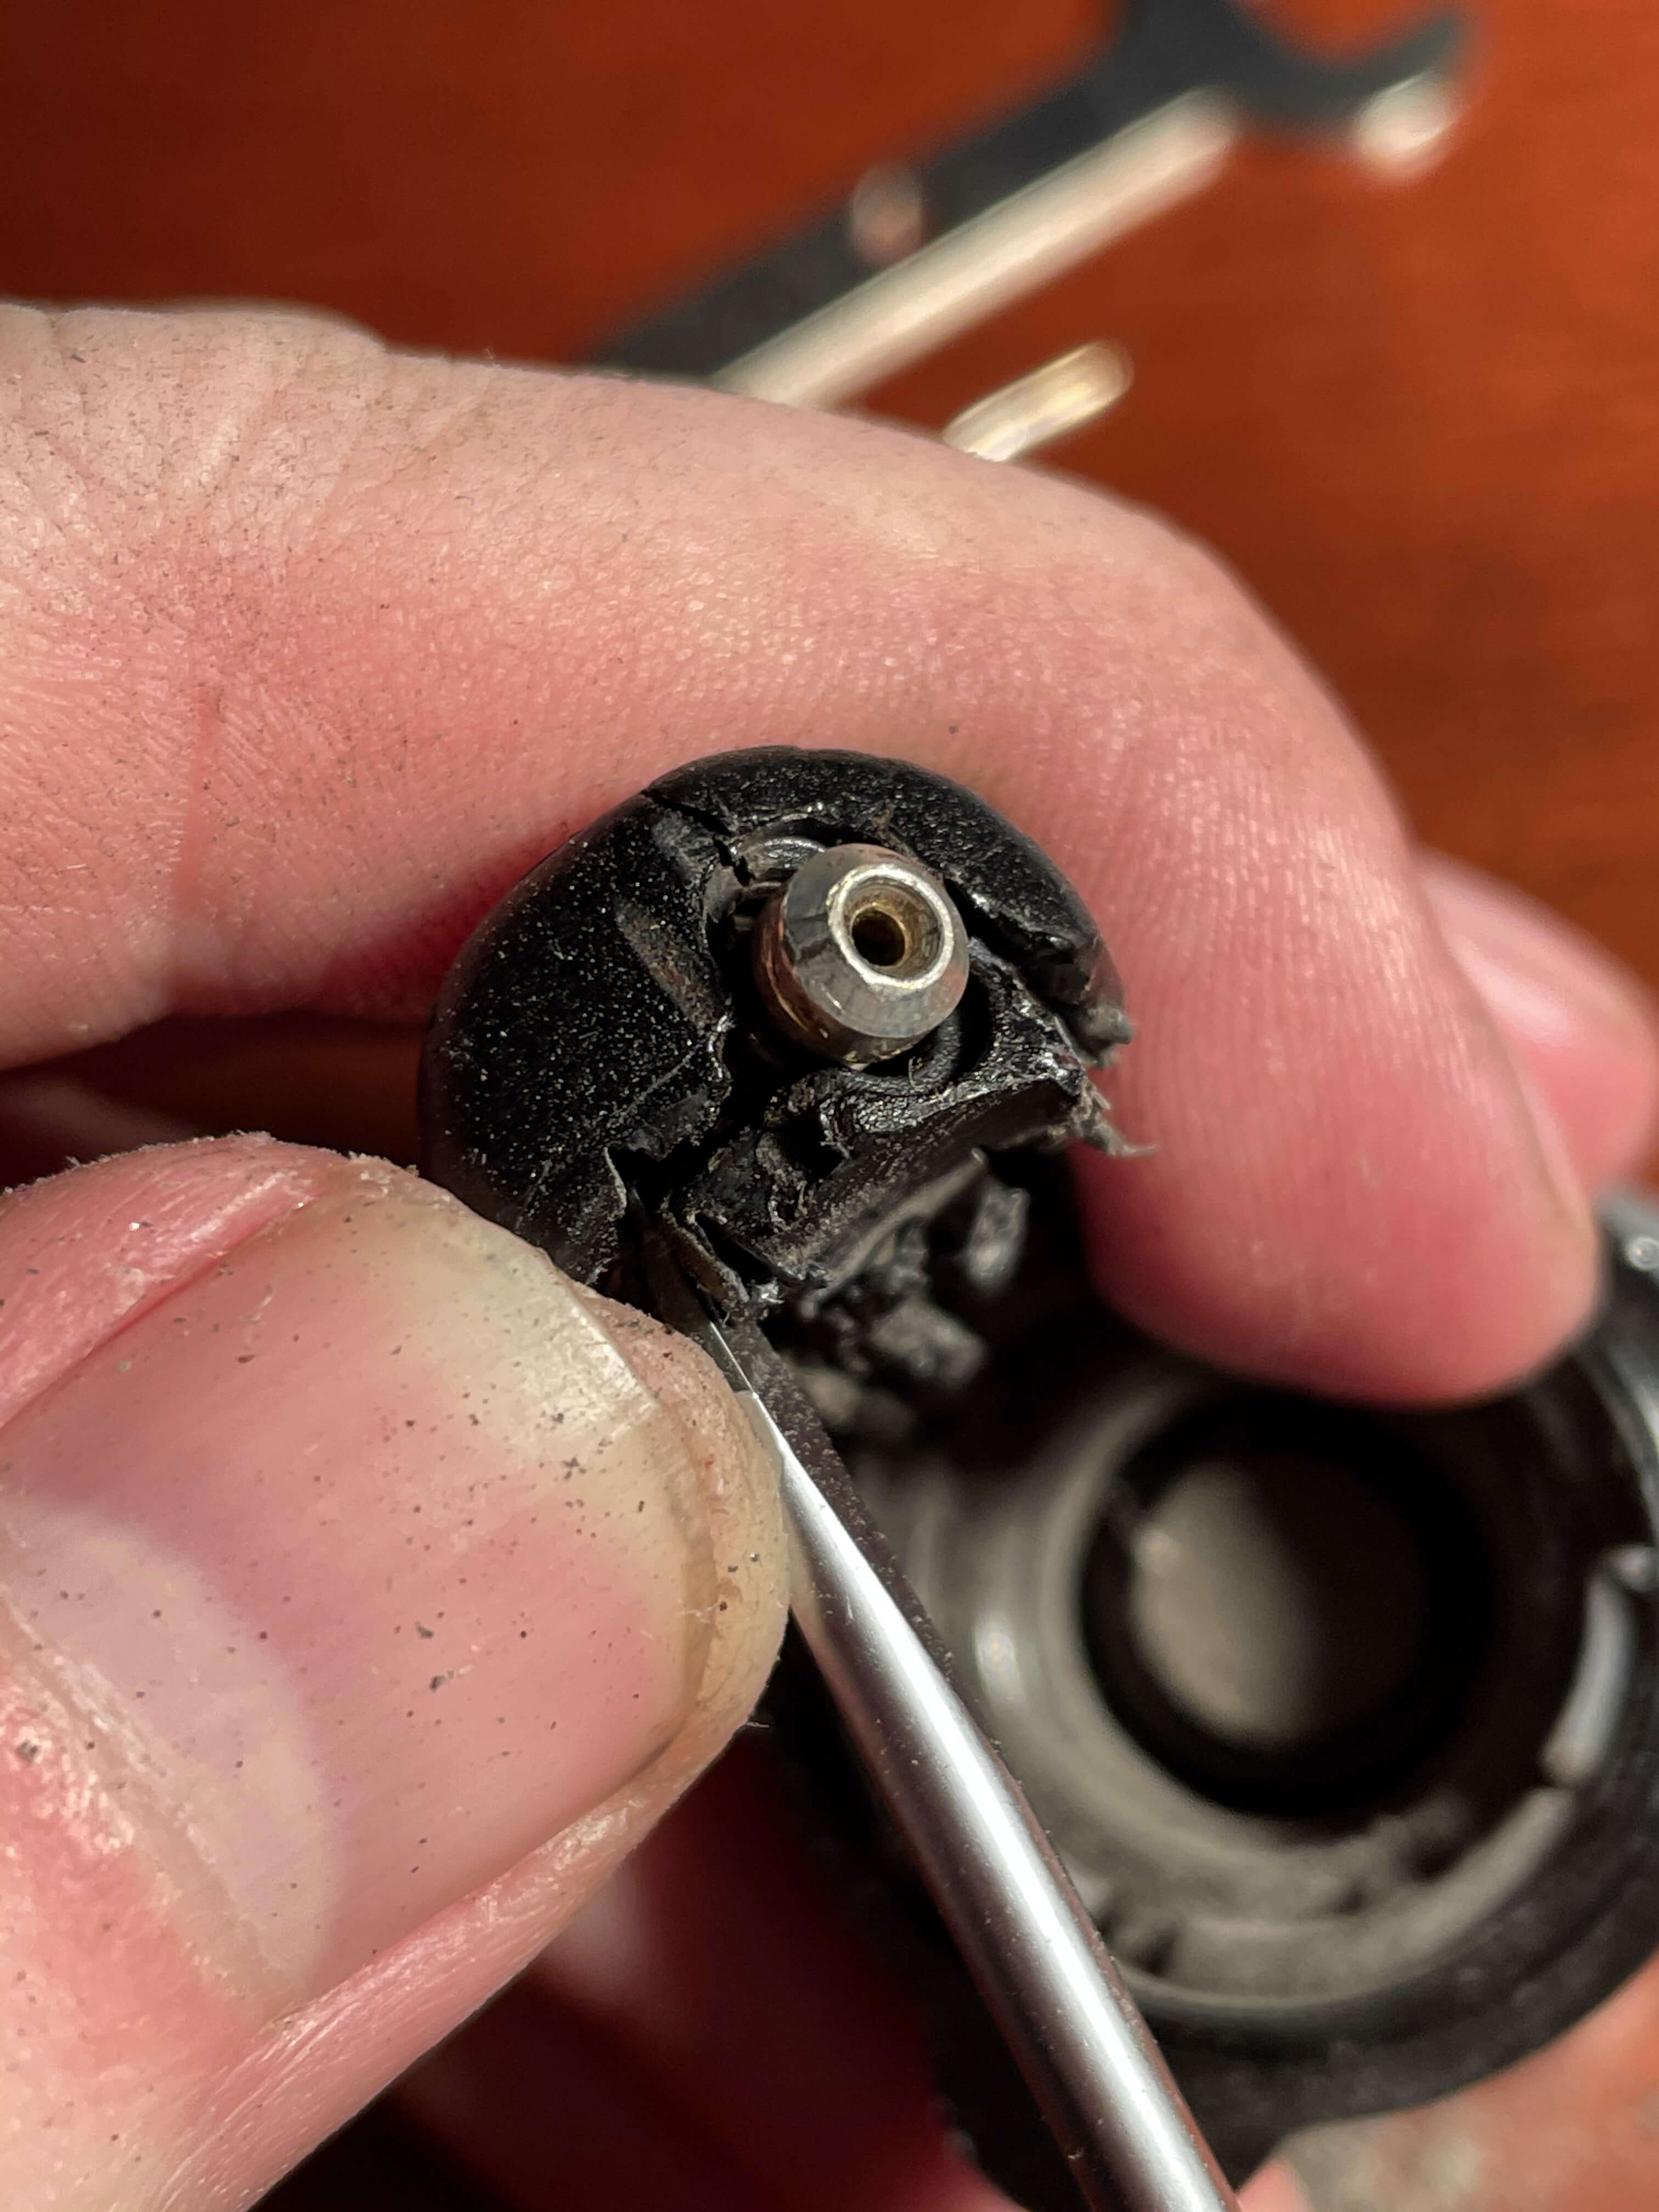
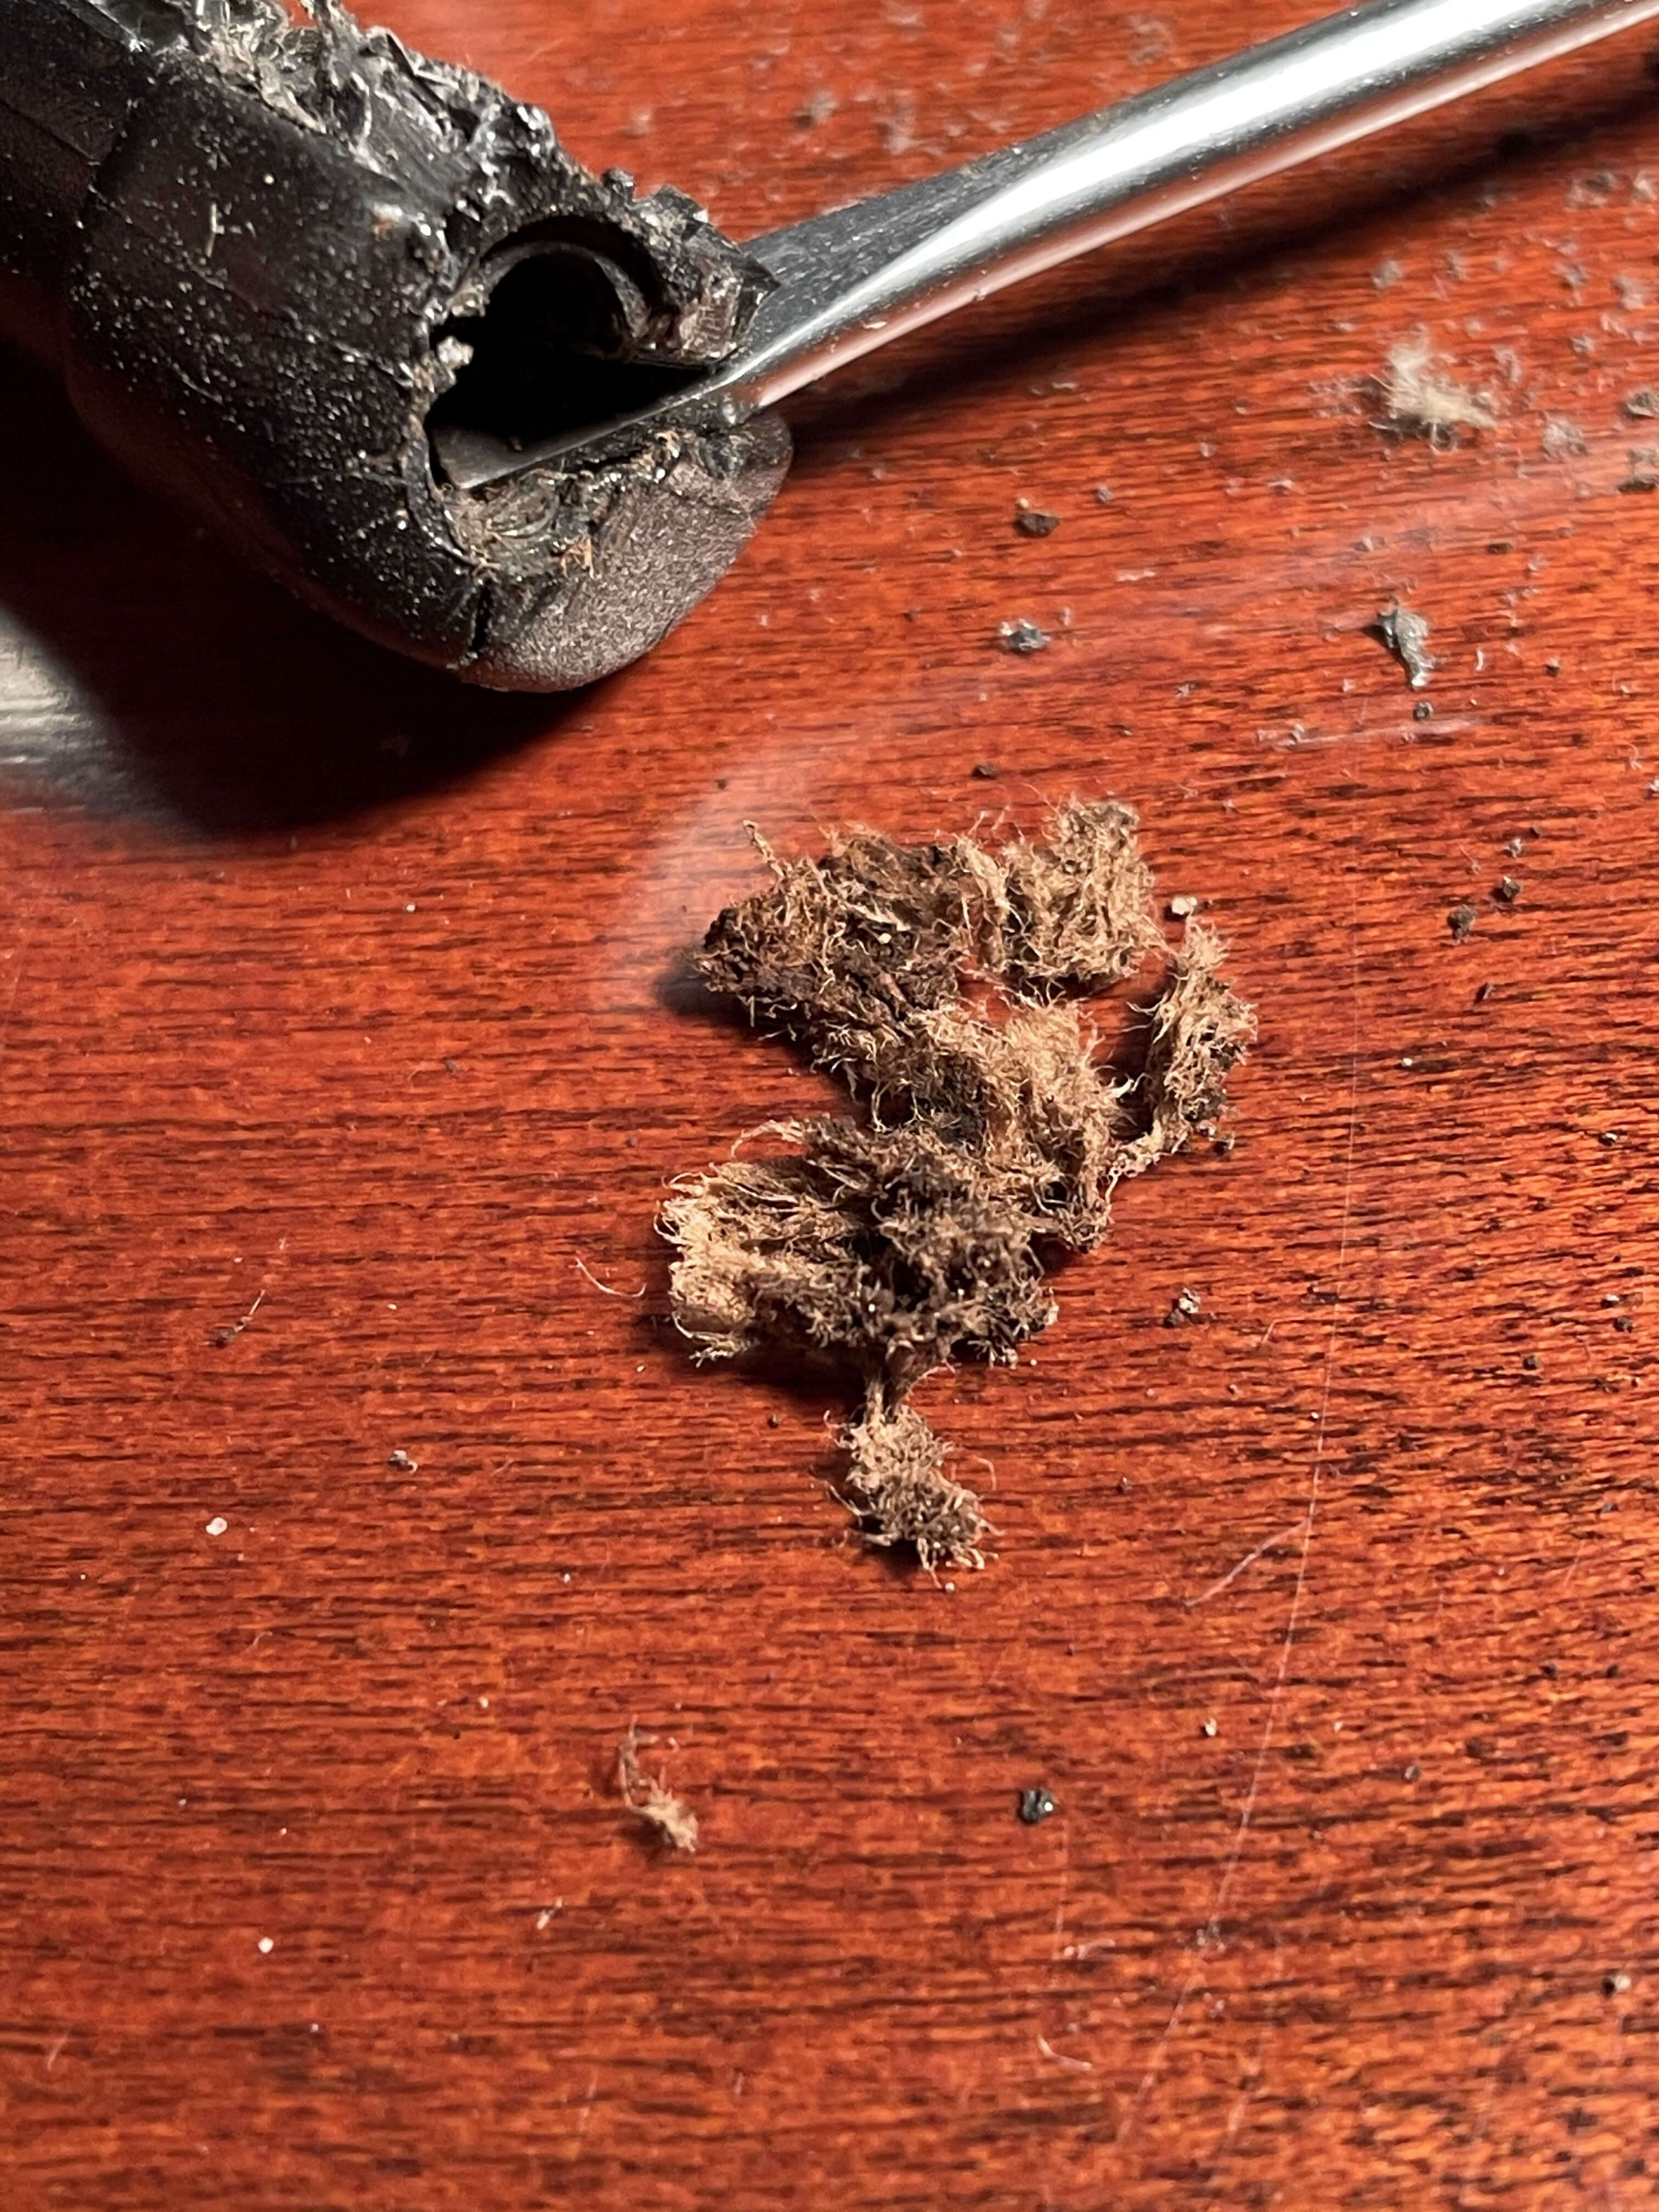
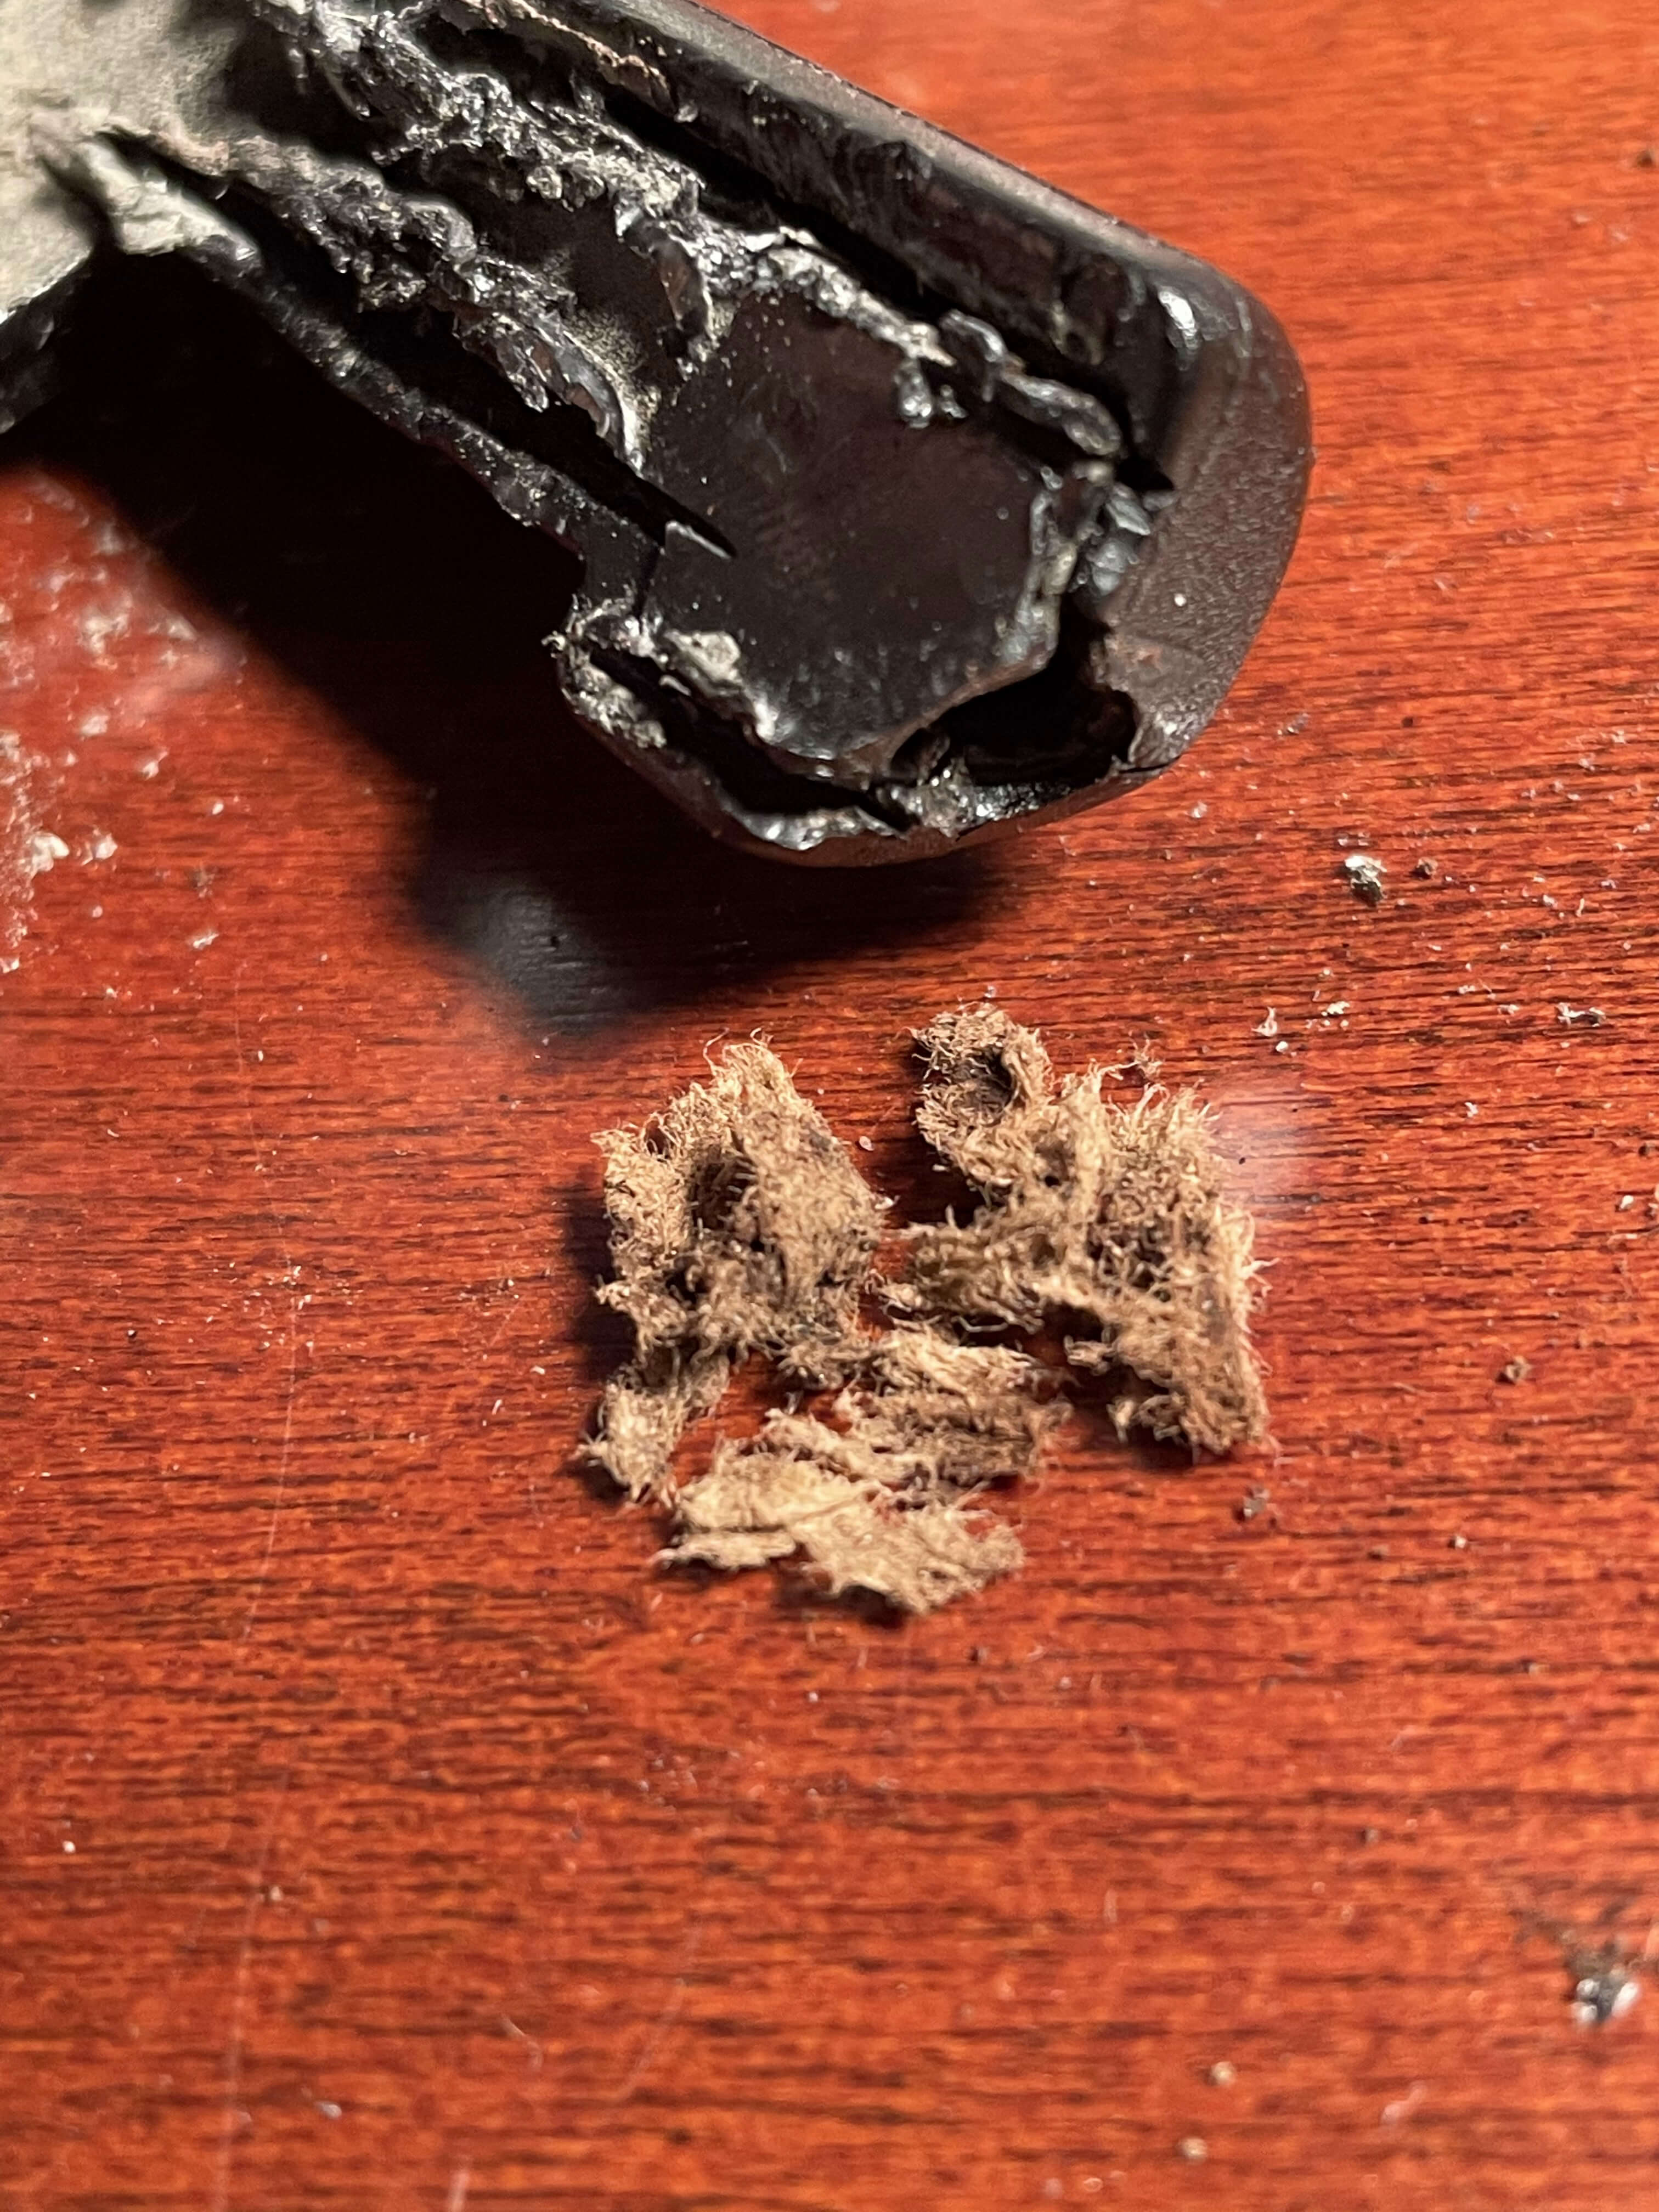
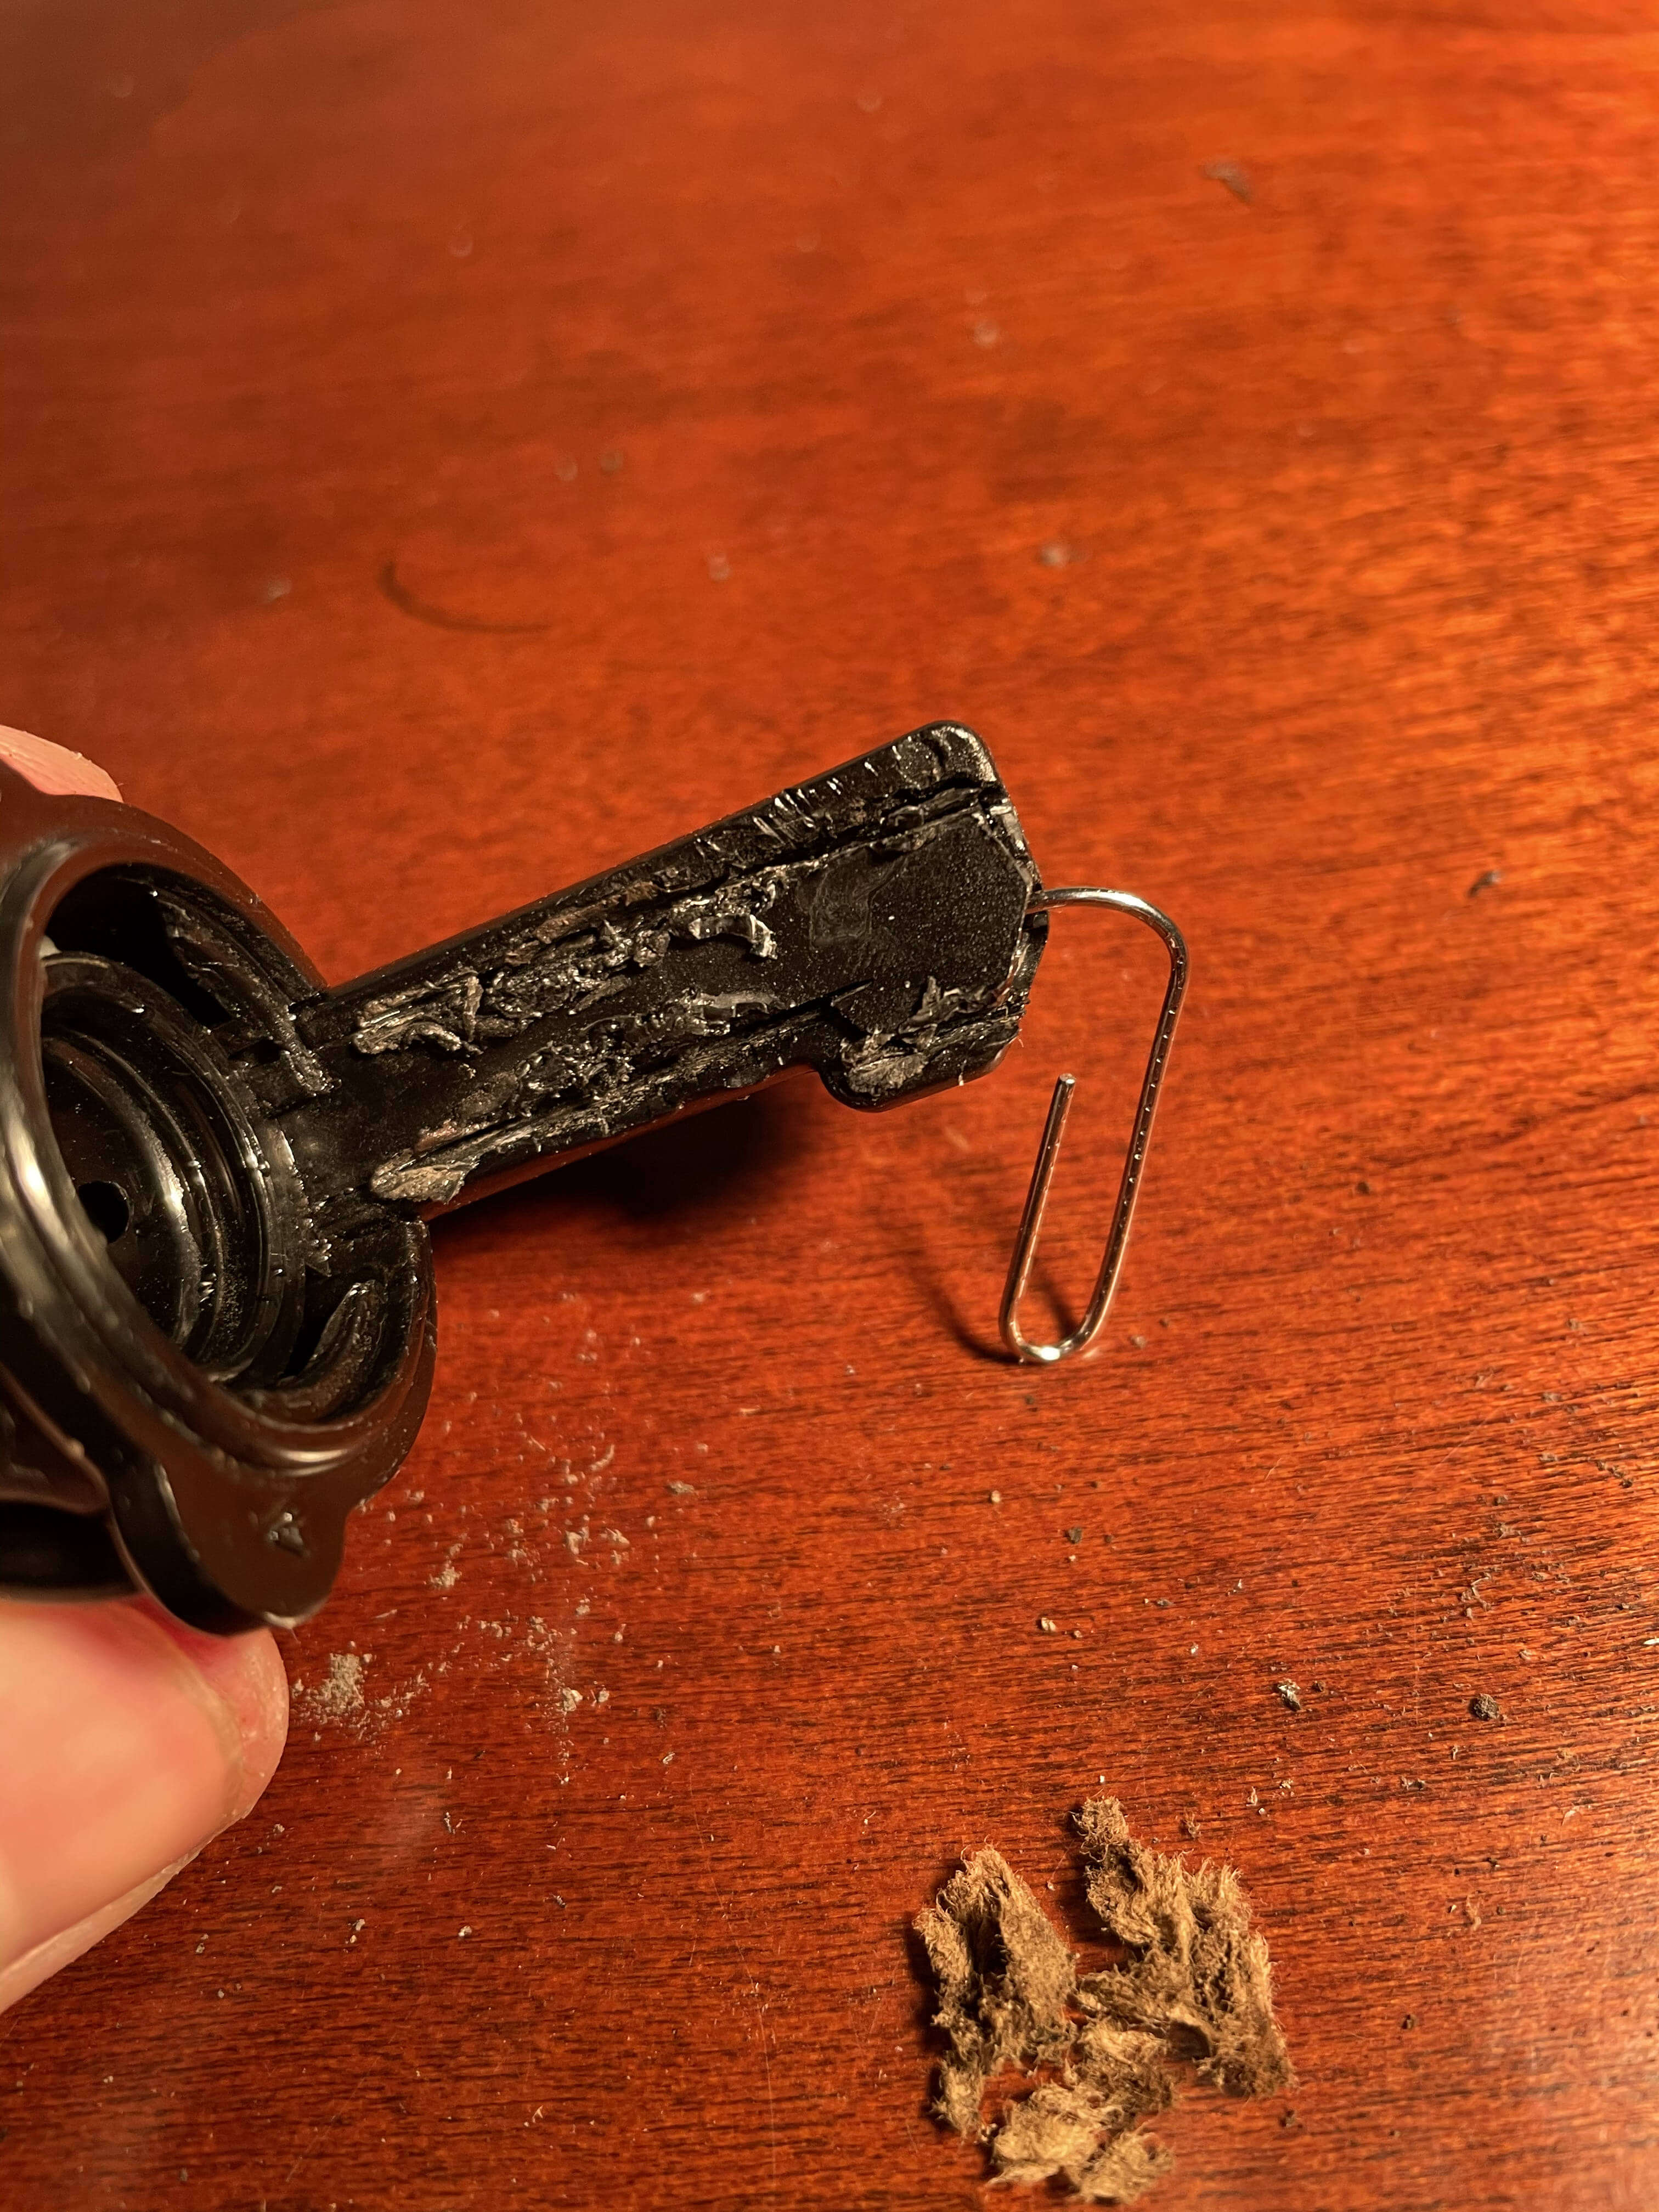
After taking out the tip, I inspected the insides… can you see the problem?
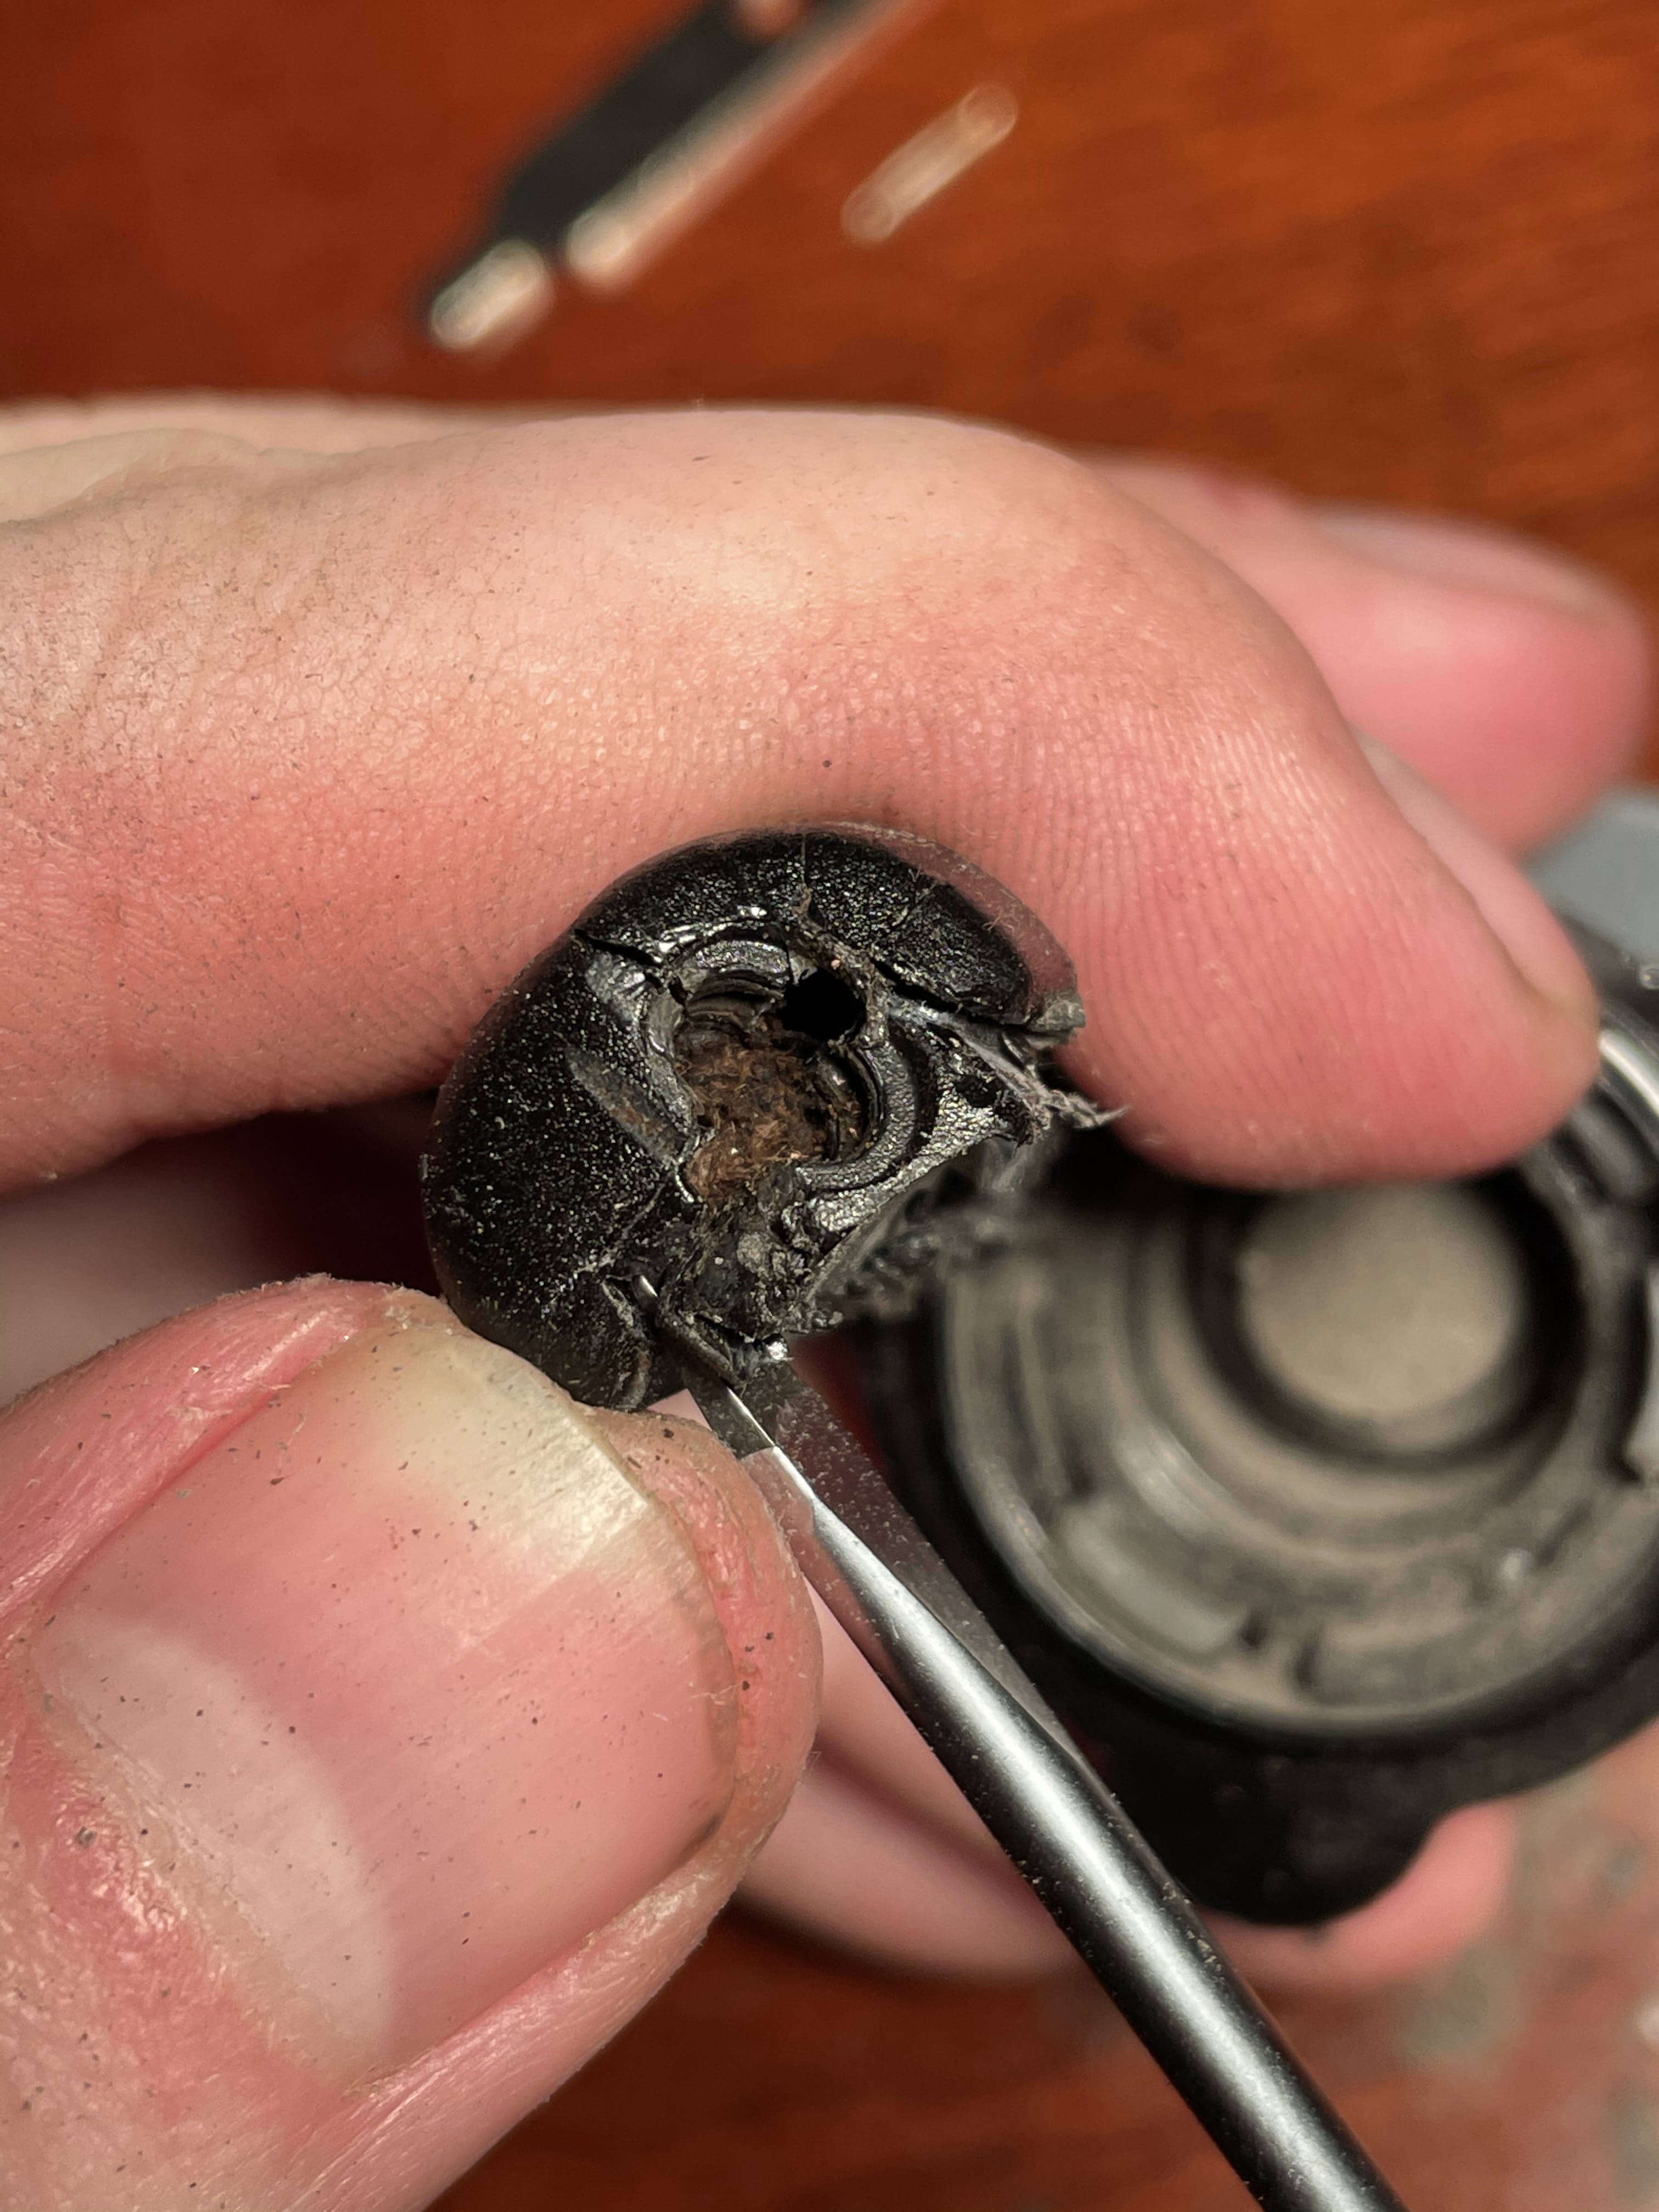
I took some fine-tipped tweezers, and started poking and pulling around at the brown wall. I ended up pulling out a lot of fibrous matter, which smelled of burnt coffee. Perhaps some incorrectly loaded filter media had made it up the valve?
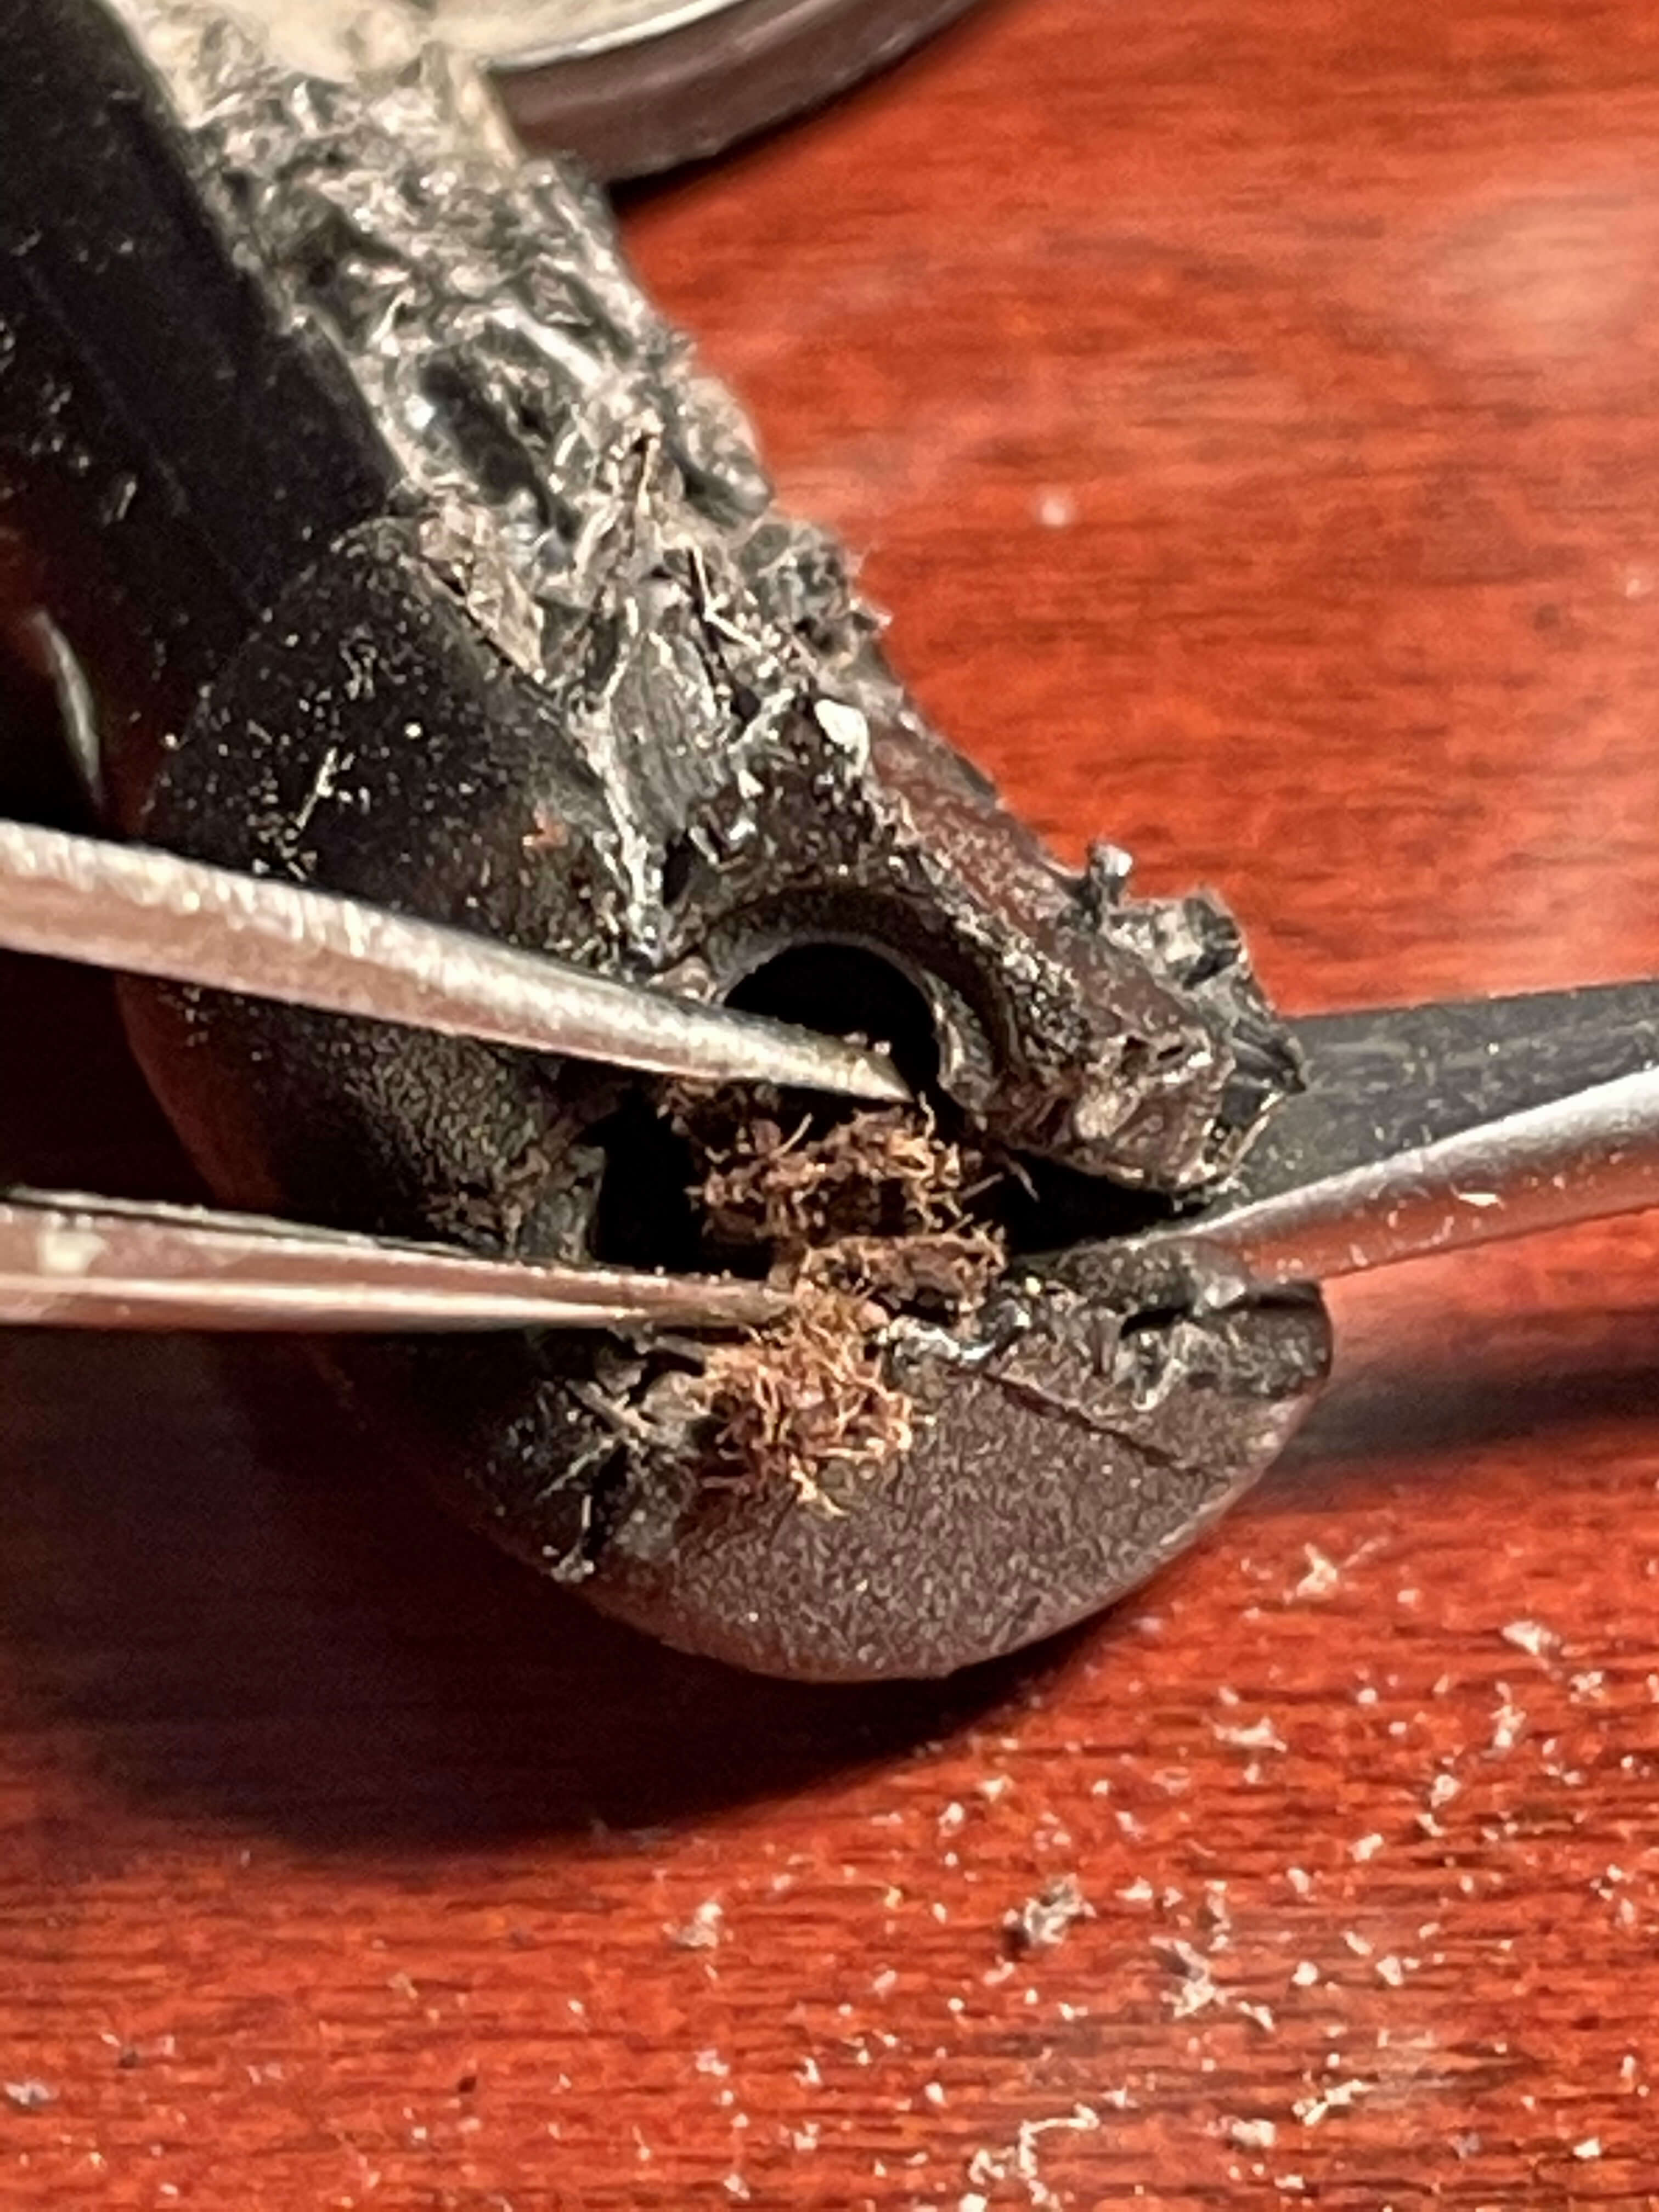
Now that we’re all unblocked, it’s time for reassembly, which is just the reverse of removal! If only it were that simple…
I took a look around at what materials I had on hand to help re-seal the valve stem, and unfortunately couldn’t find any epoxy or plastic-weld putty in the garage. I settled on Permatex Red Hi-Temp Silicone Sealant – I couldn’t find a PSI rating for it, but if it can withstand high temperatures and is waterproof, that’s good enough for me. UPDATE: The sealant repair started flaking and flexing after about a month. I went to the hardware store and bought a higher-strength bonder: J-B Weld 50139 Plastic Bonder. This stuff dries hard as a rock, is rated for 3770 PSI, and is also black to match the colour of the valve. Still under $10!
None of the ingredients are explicitly toxic, which also helps (though if the idea of an automotive sealant in your coffeemaker grosses you out, you may want to look into more expensive certified food-safe epoxies.)
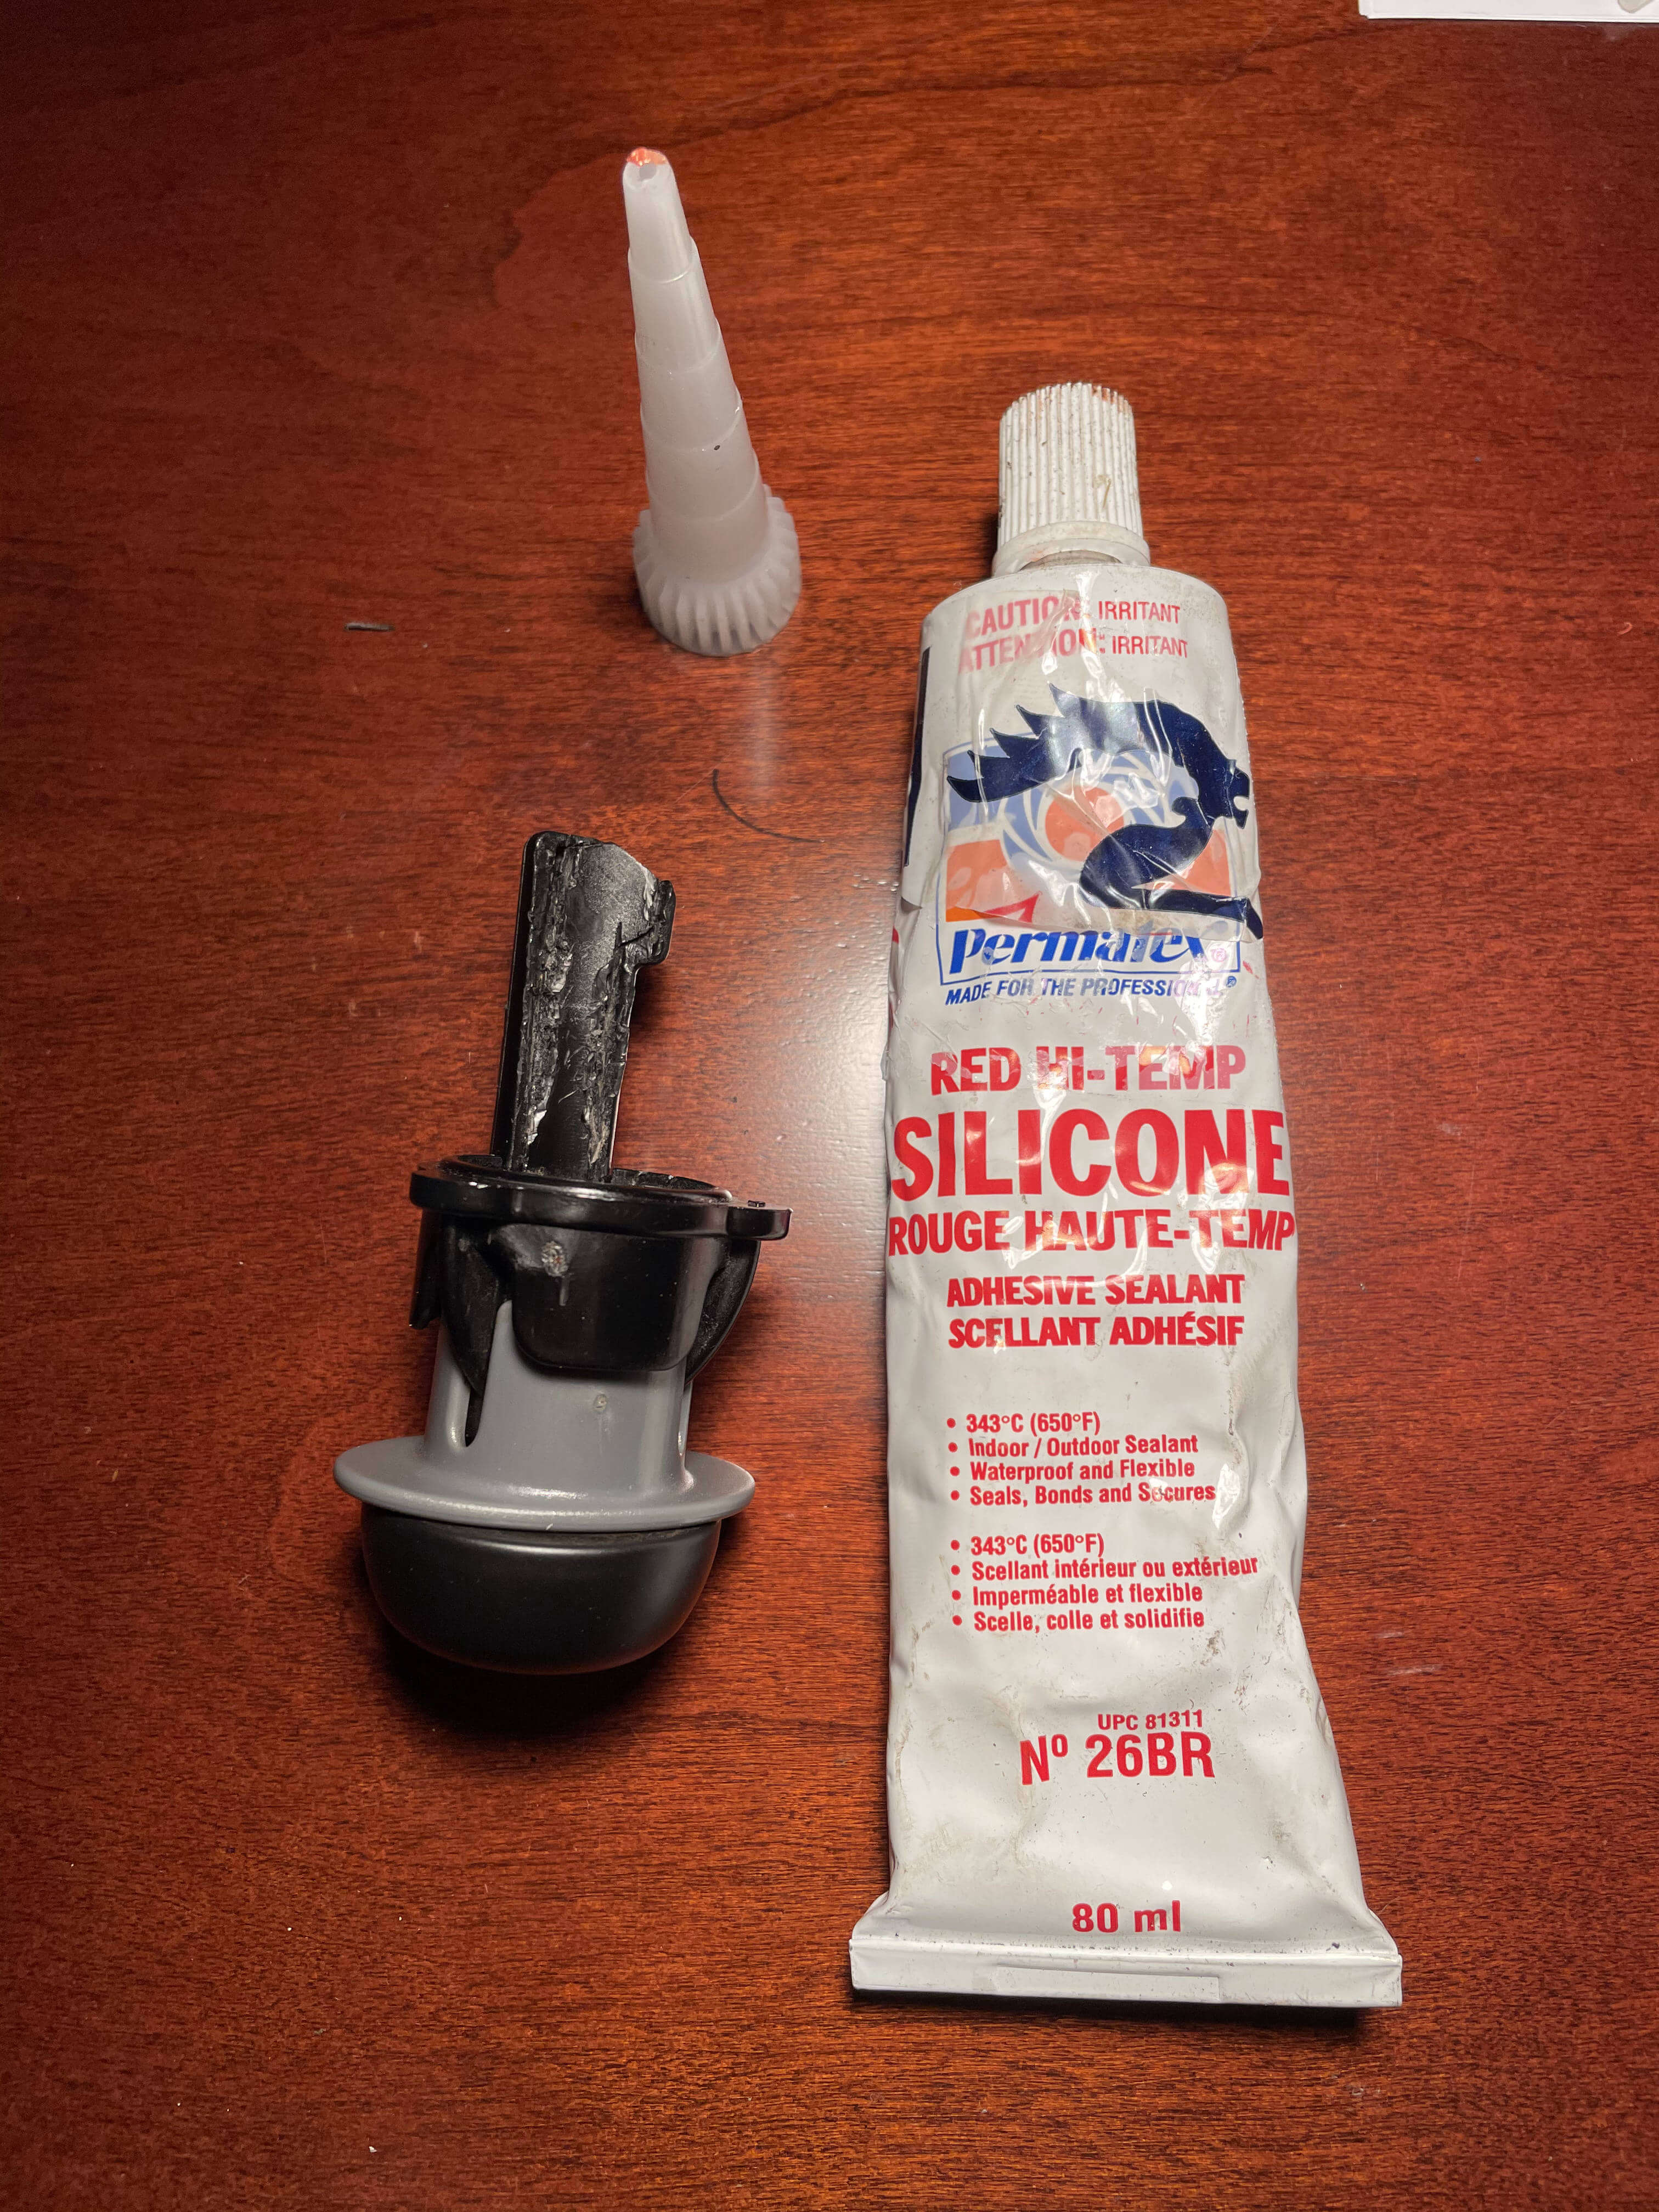
I deburred the edges I had cut open, and applied a light bead of sealant. It’s important to use a putty or paste rather than liquid glue, since we want the inside to remain hollow. Liquid could creep into the cavity and permanently block the stem, which is a big no-no. Don’t forget to reattach the metal tip!
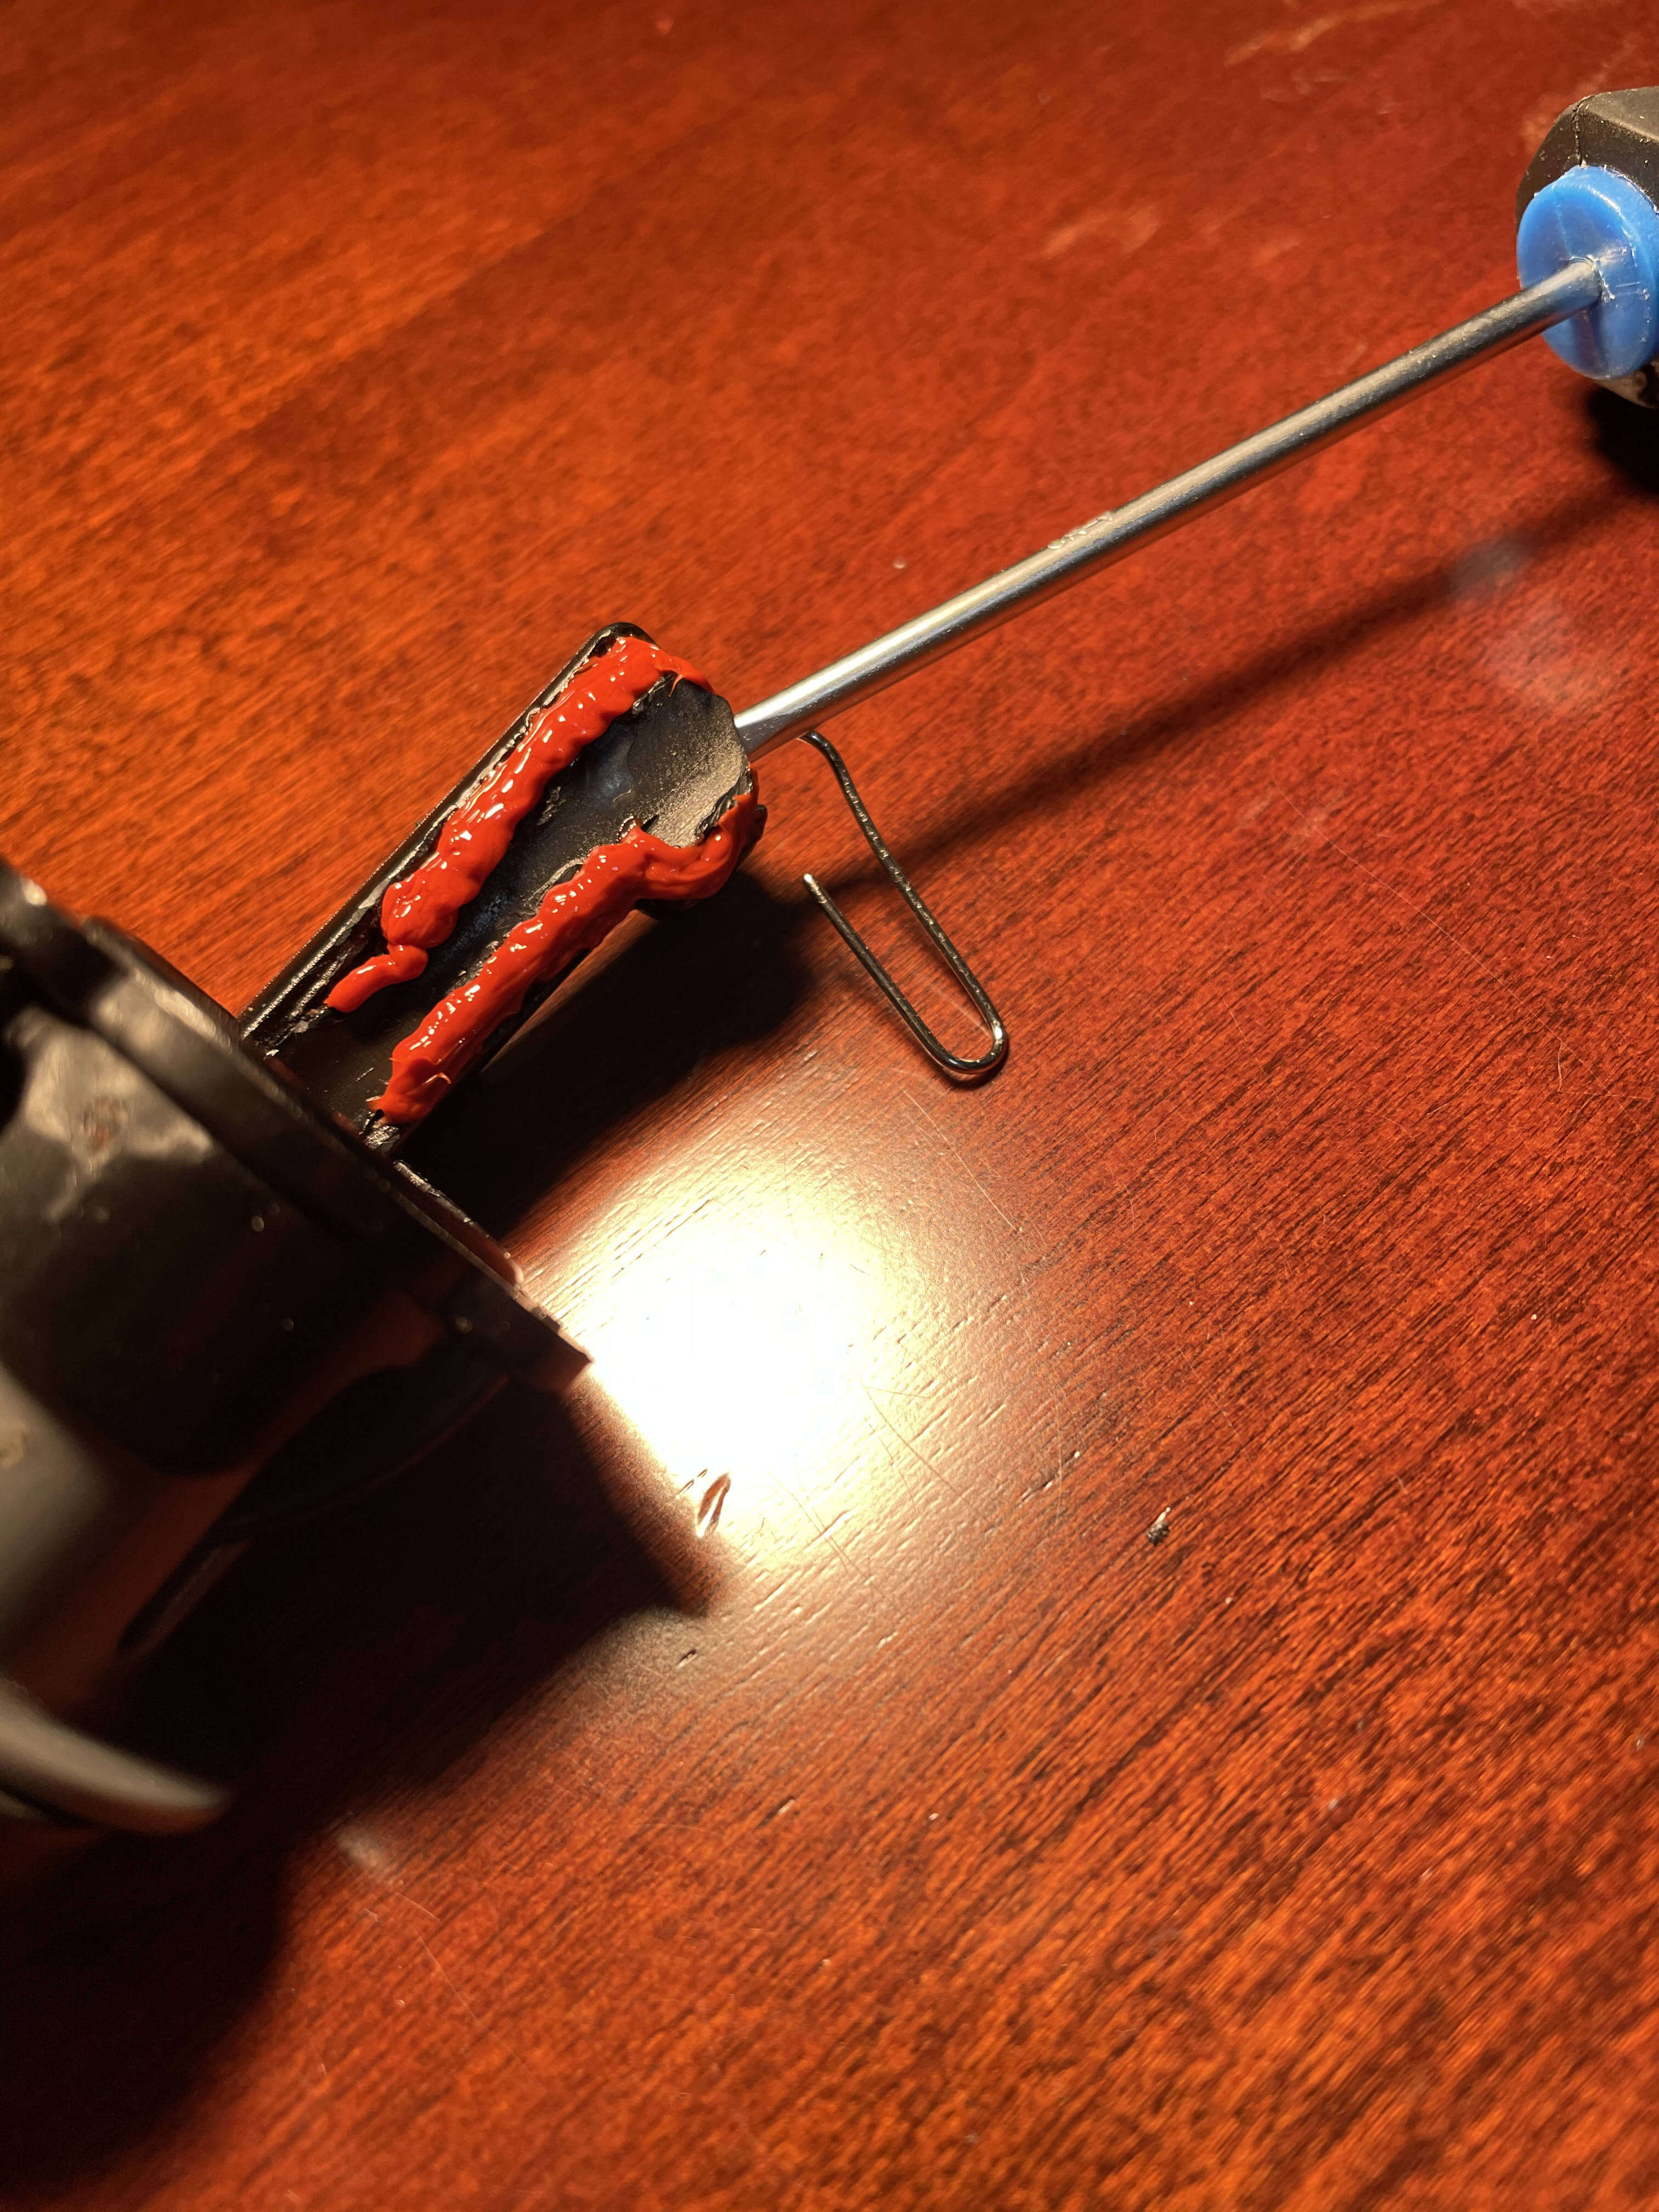
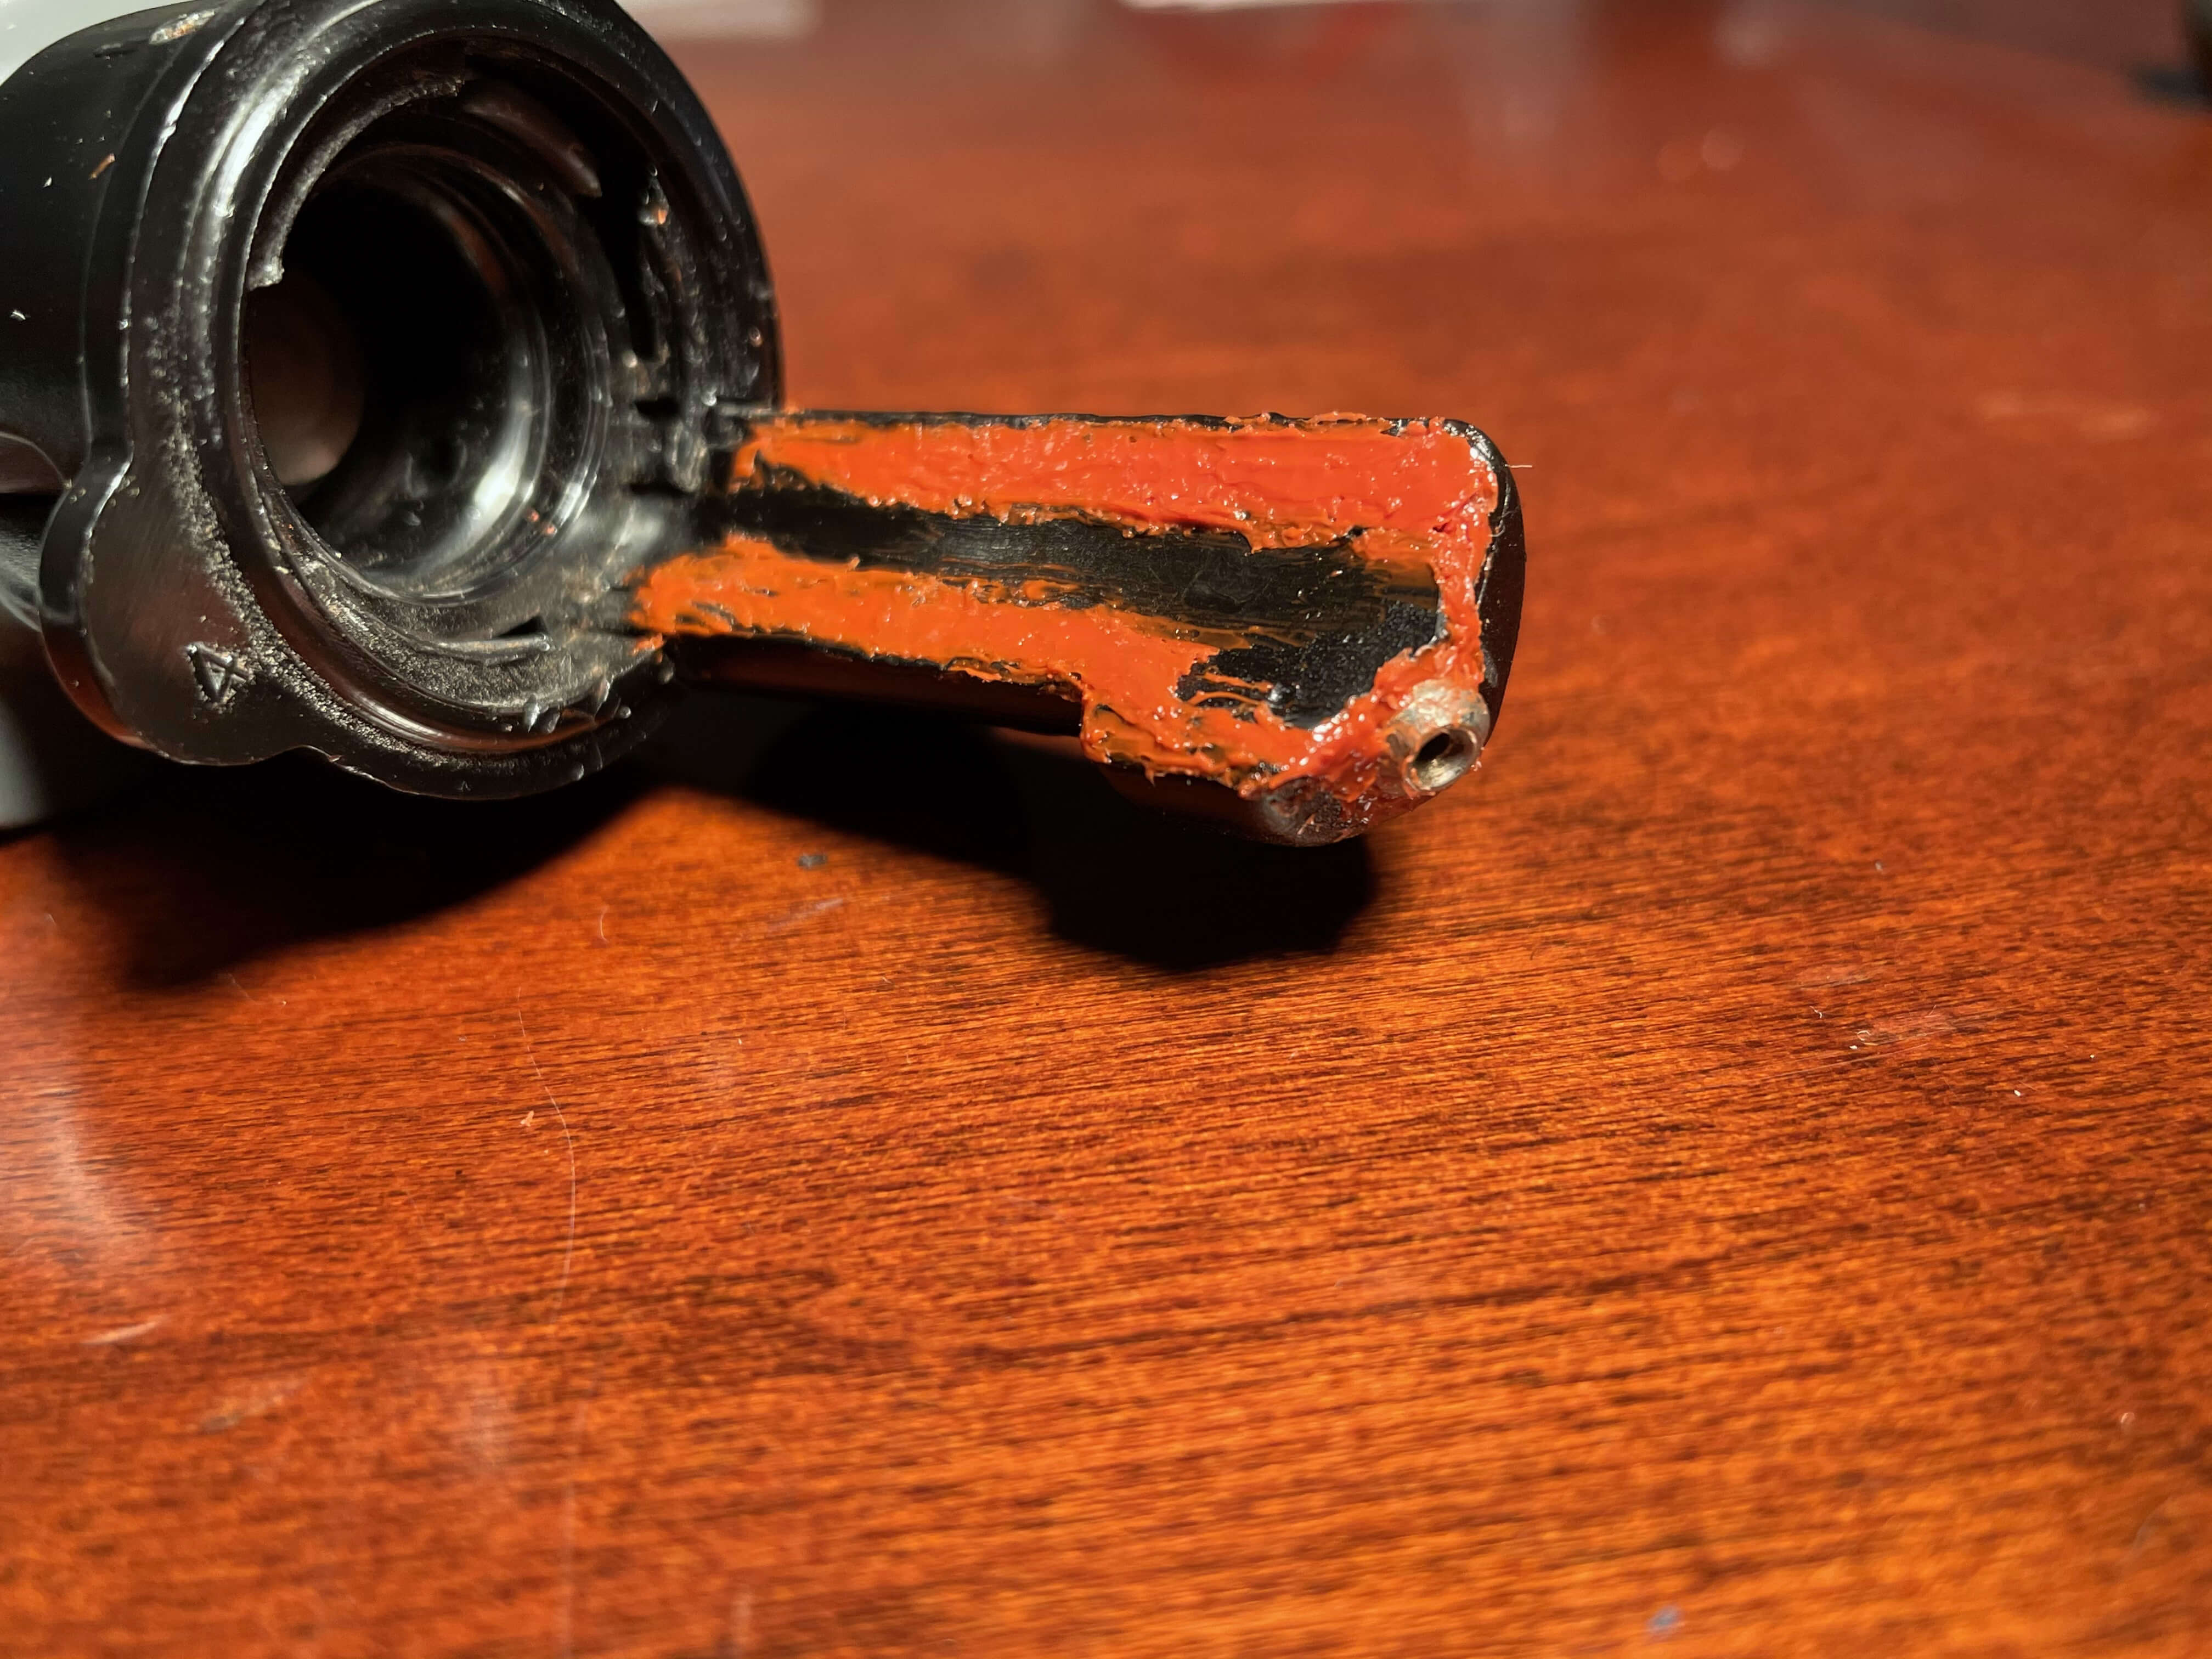
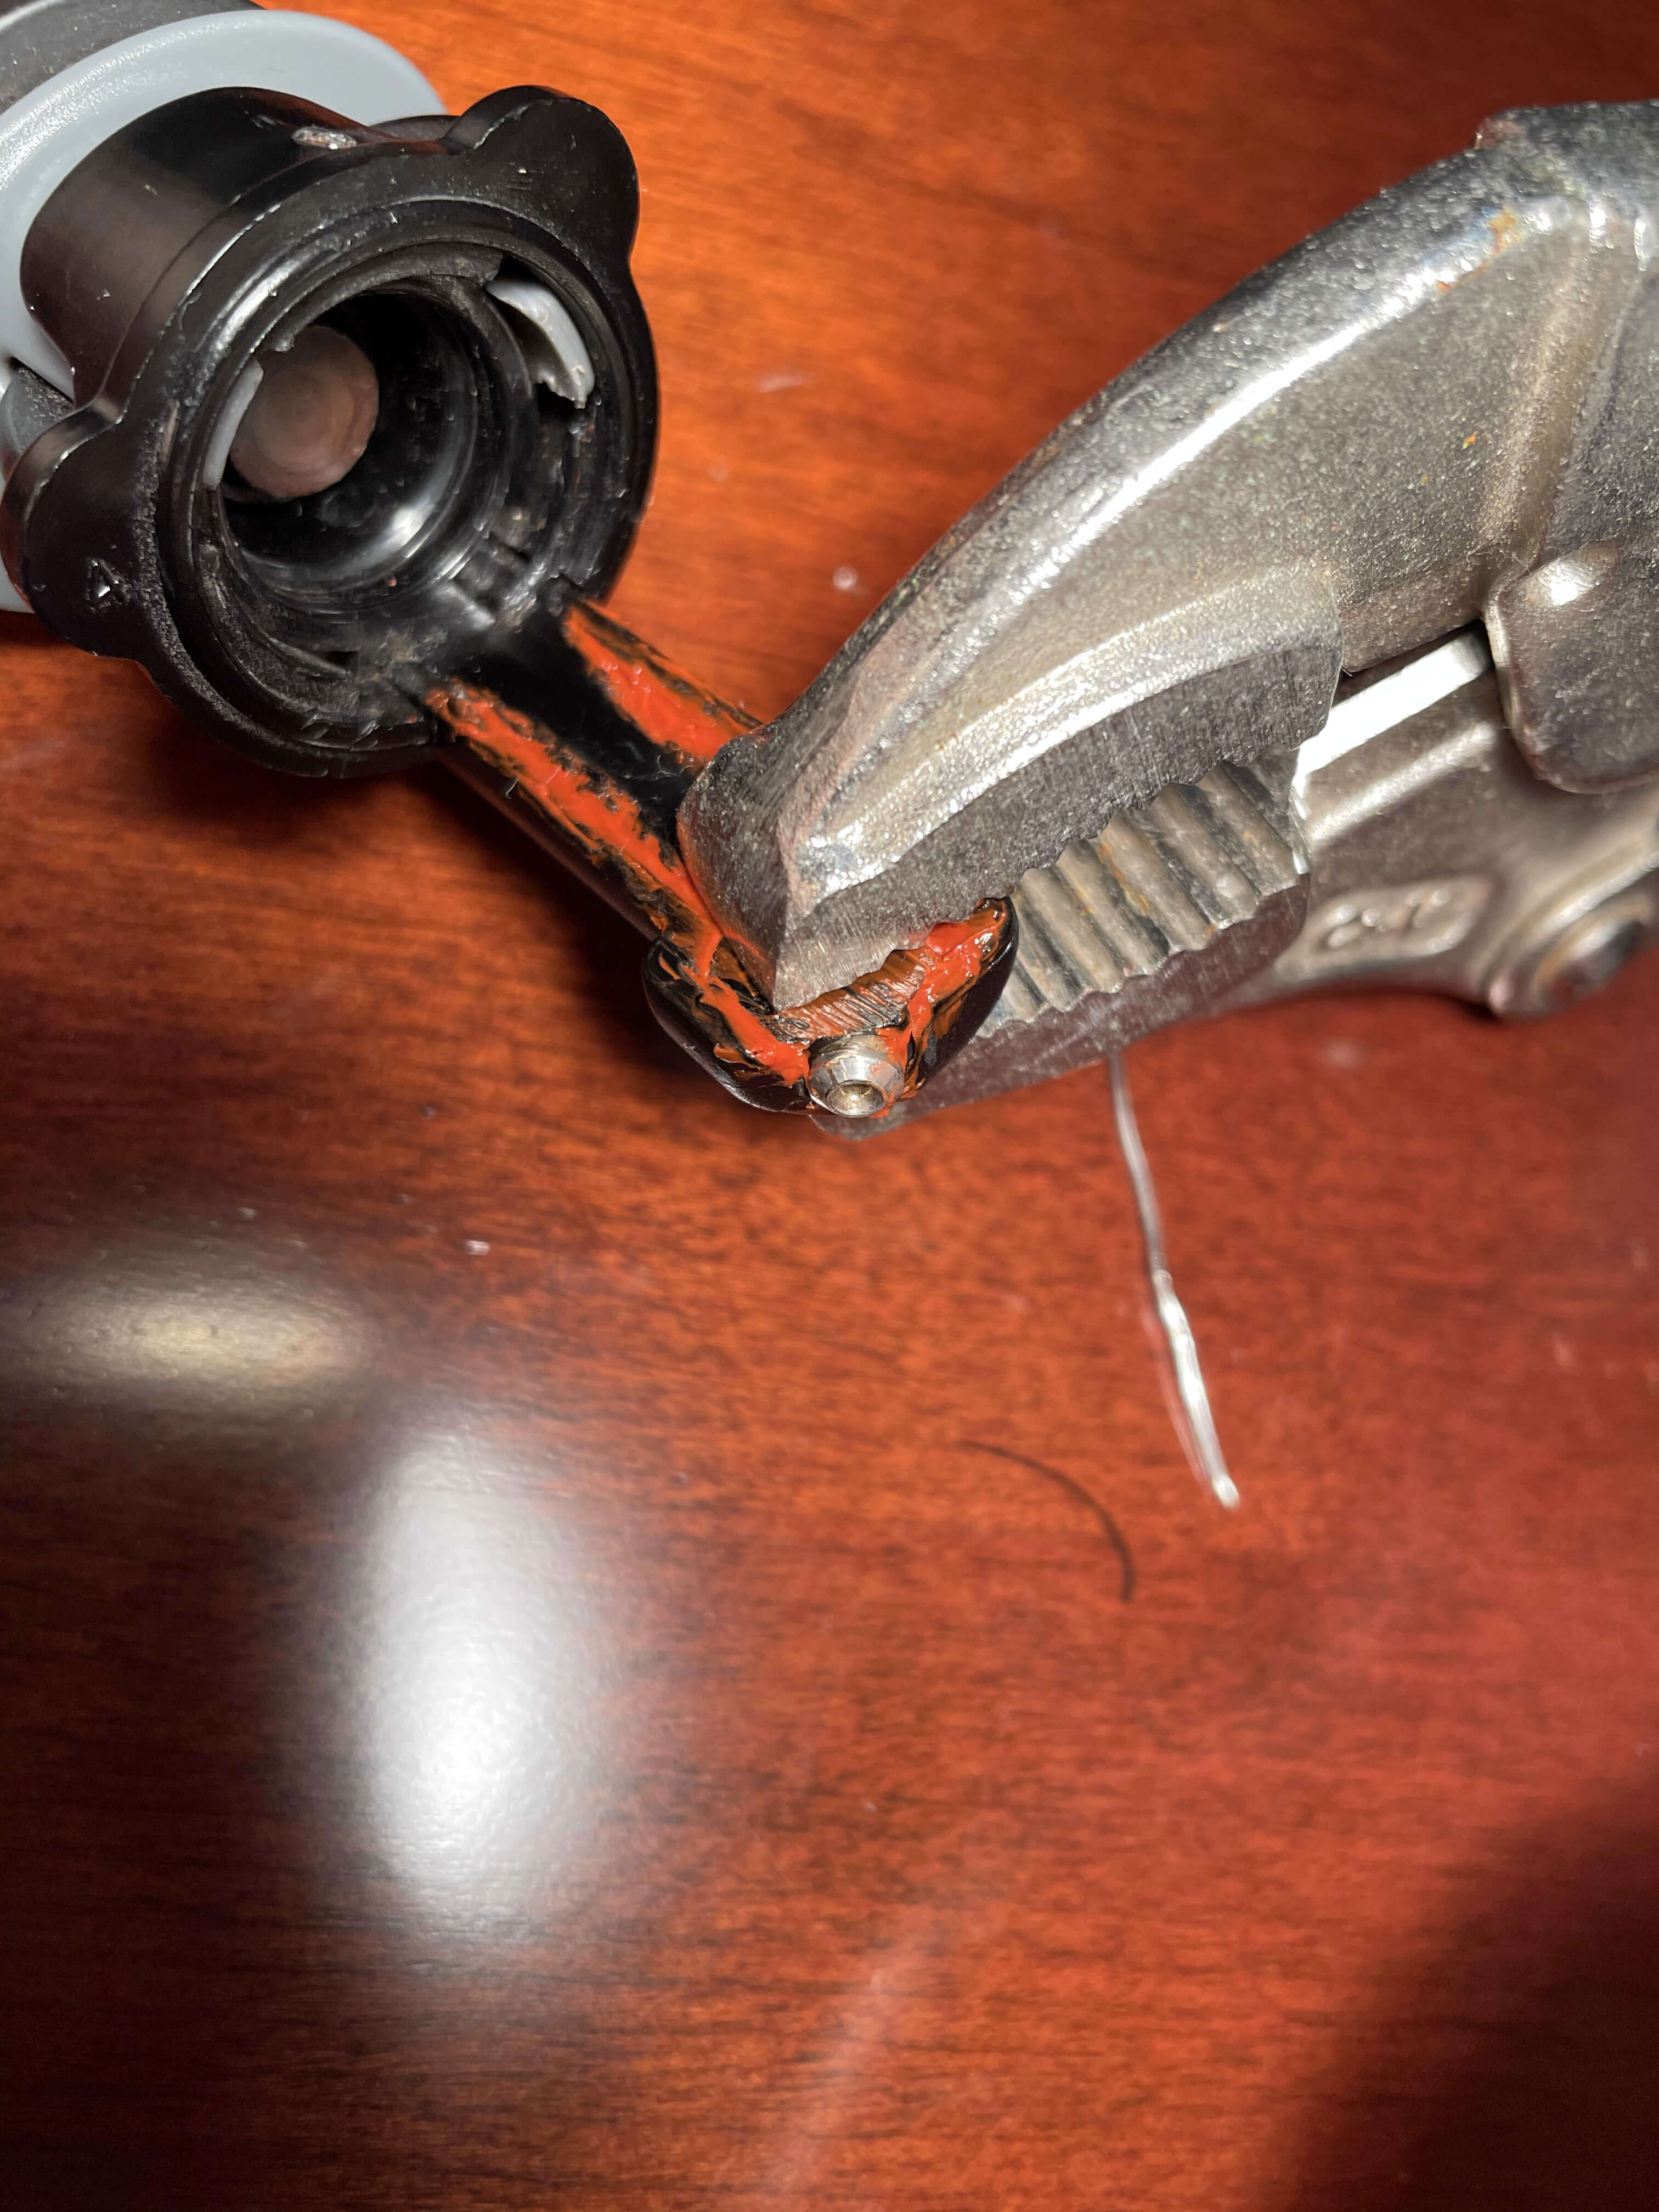
After verifying that the body was still hollow and allowed wire to be fed through, I clamped the valve using some vice-grips, and left the sealant to cure.
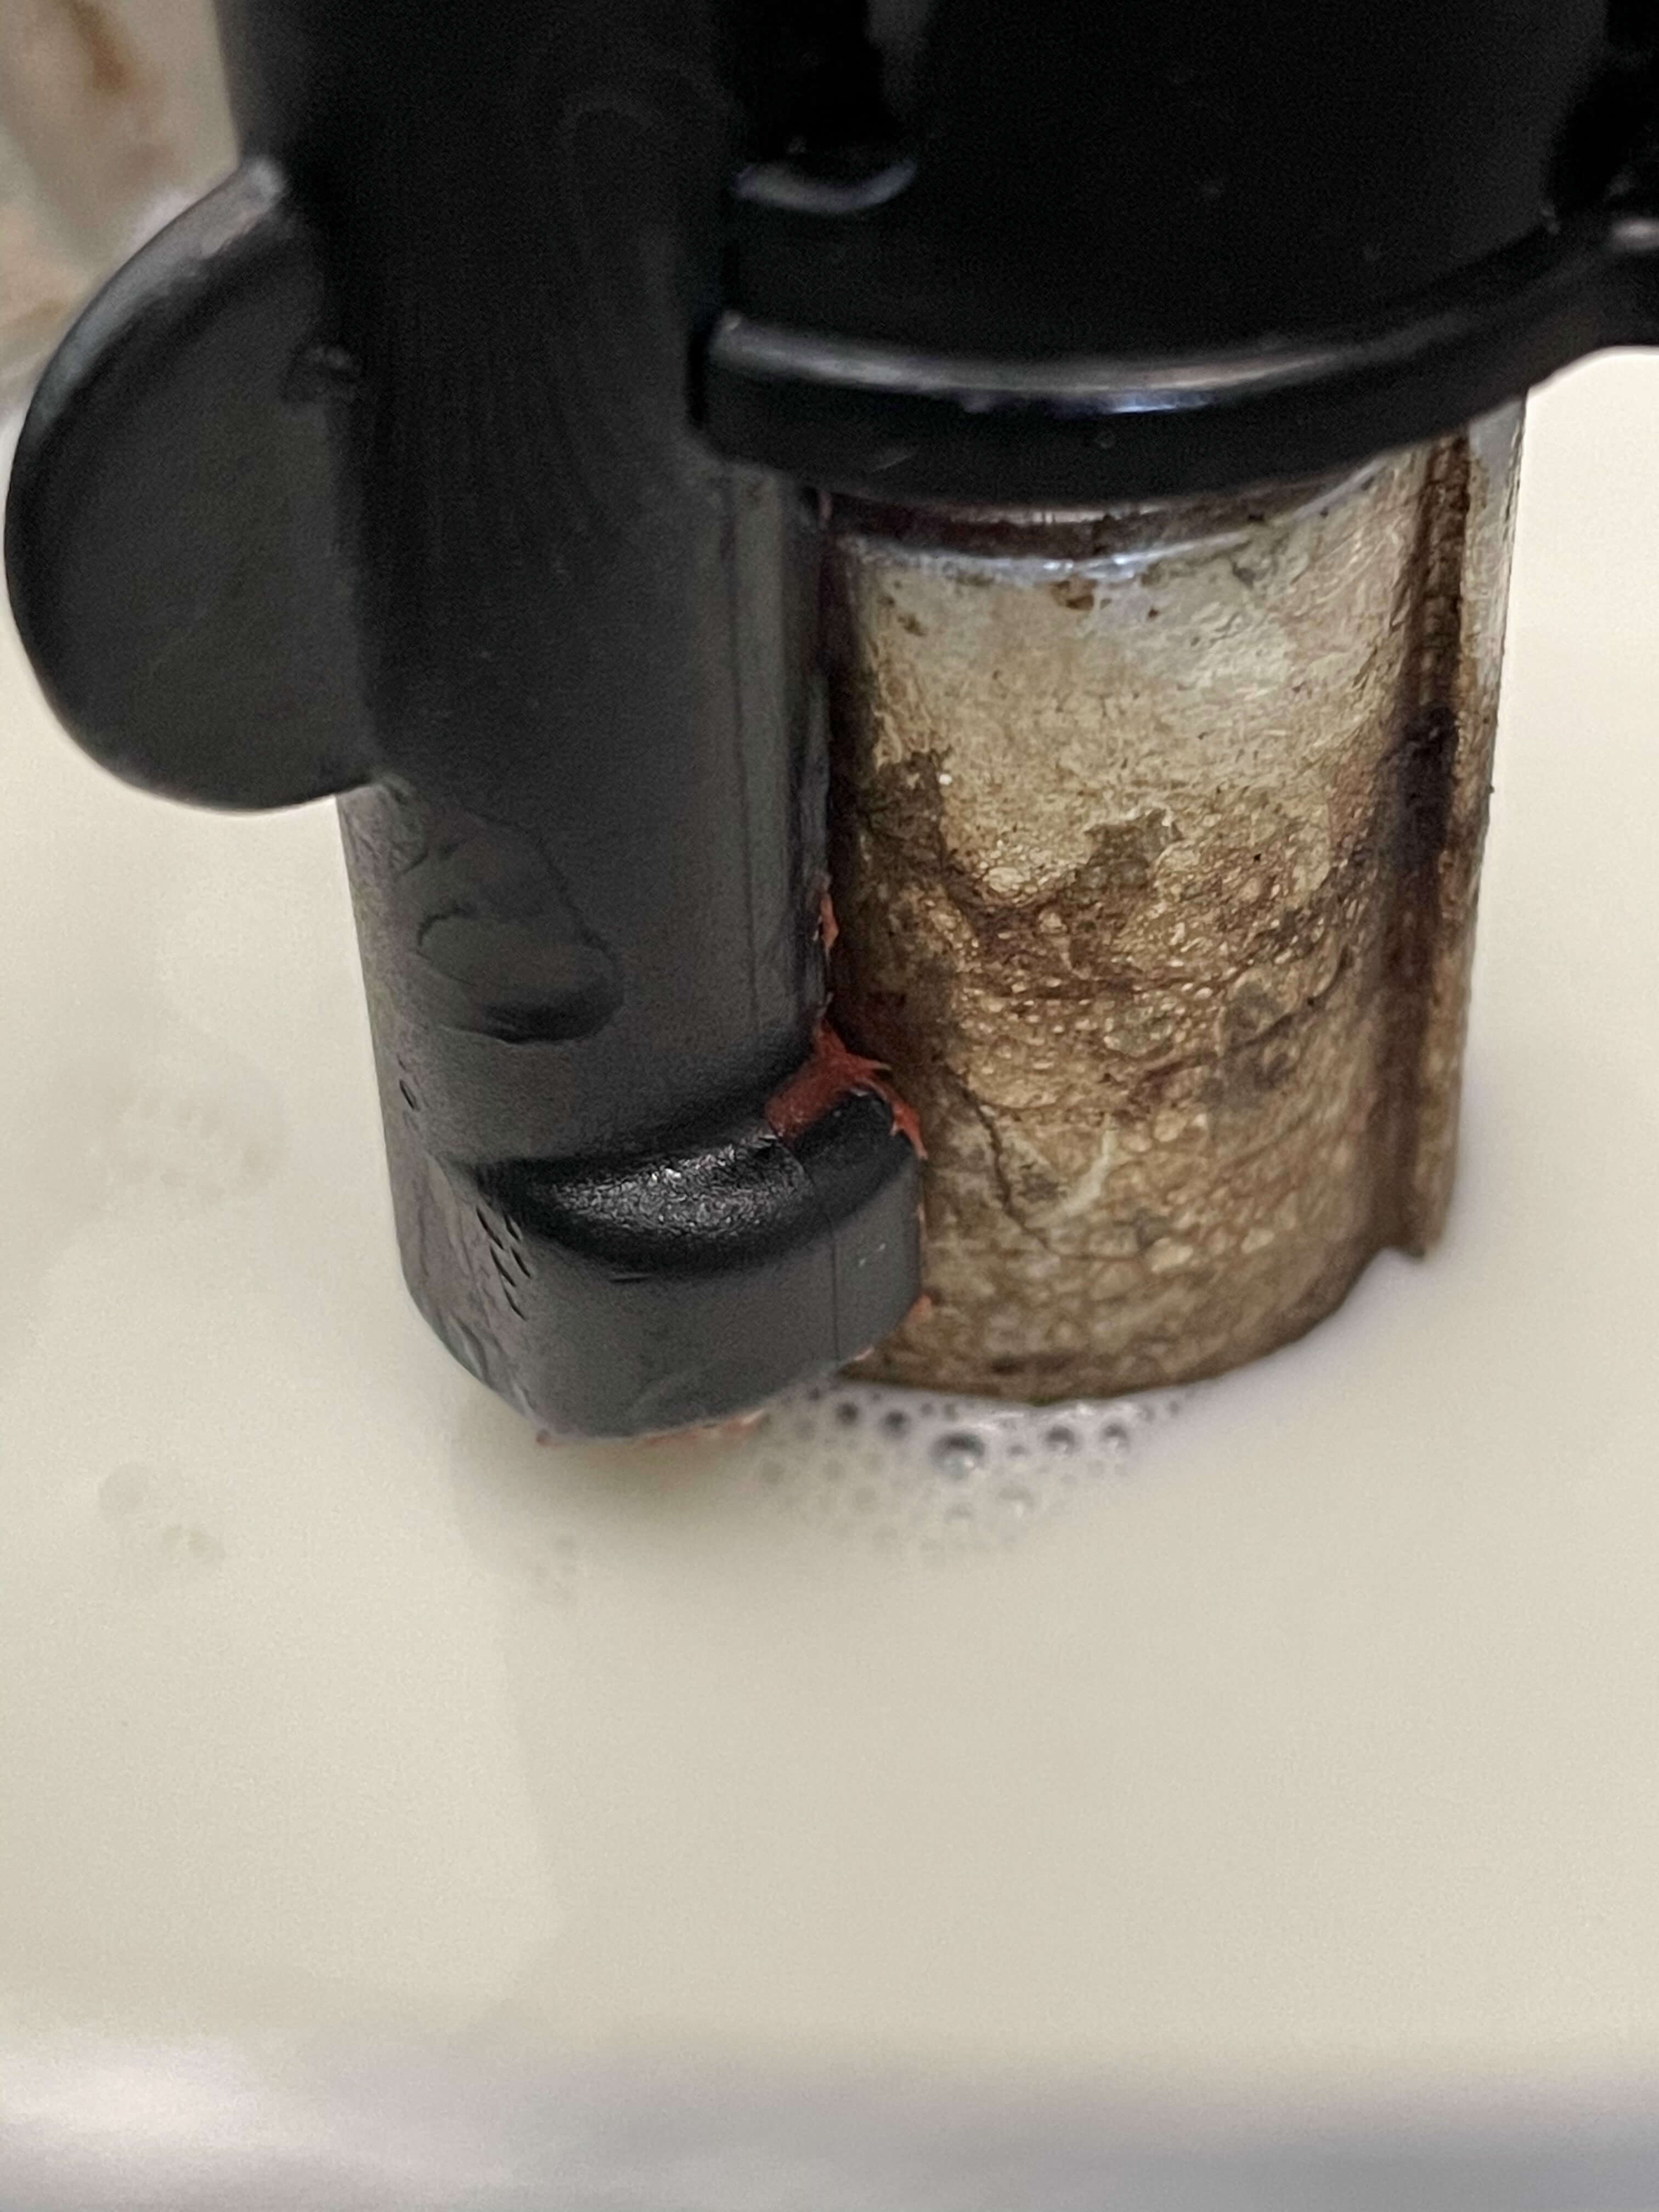
The next day, I cleaned everything off with water and isopropyl alcohol, placed a new R-06 o-ring on the coffeemaker body, and reattached the valve. I ran some water through the system, and confirmed the valve was operating fine and not spitting sealant into the coffeemaker. Success!
Conclusion
If you have the right tools, anything is possible. If not, you can always buy a new replacement pressure valve for your Bialetti Mukka Express Coffeemaker on Amazon by using this link.
*Note that as an Amazon Associate, I’ll earn a small commission if you choose to buy a new valve – so don’t delay, repair today!
That’s all folks! Looks like the Bialetti Mukka Express valve assembly is now made of unobtainium.
In use, I have scrupulously followed the instructions, carefully washing out the (mixing) valve after each use. Sadly, after some four or five years, the flared plastic bottom of the weighted portion of the valve, fatigues, & breaks. This releases the rubber plug, that covers the chimney outlet, with explosive results.